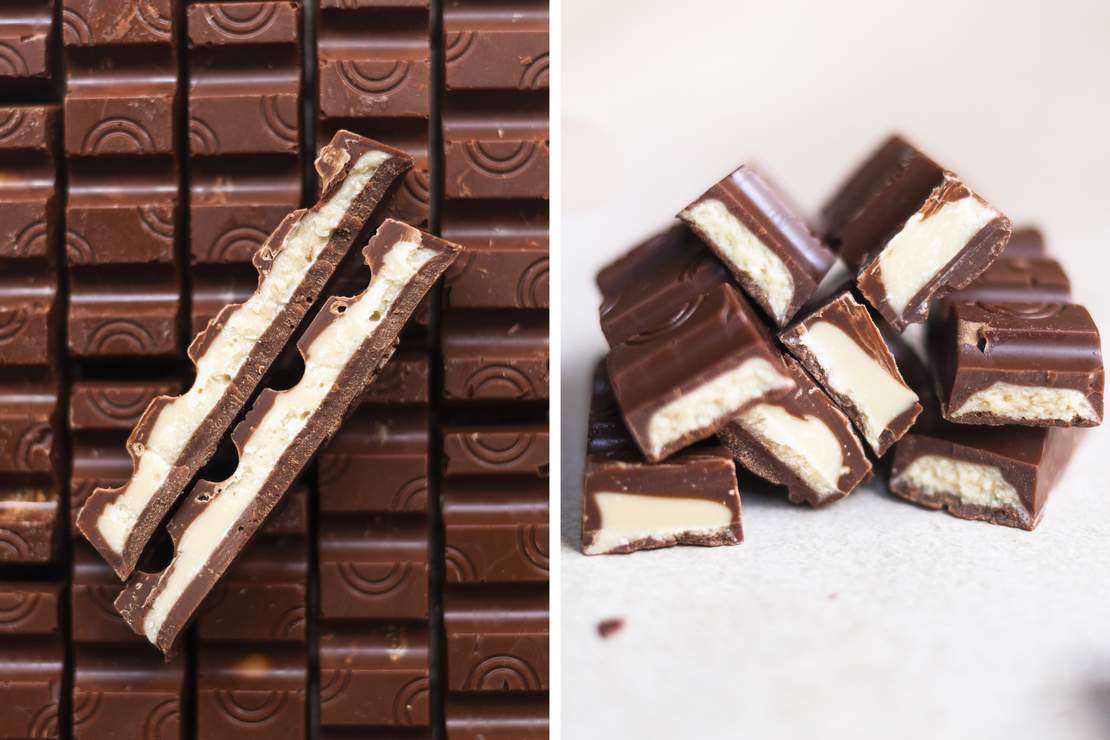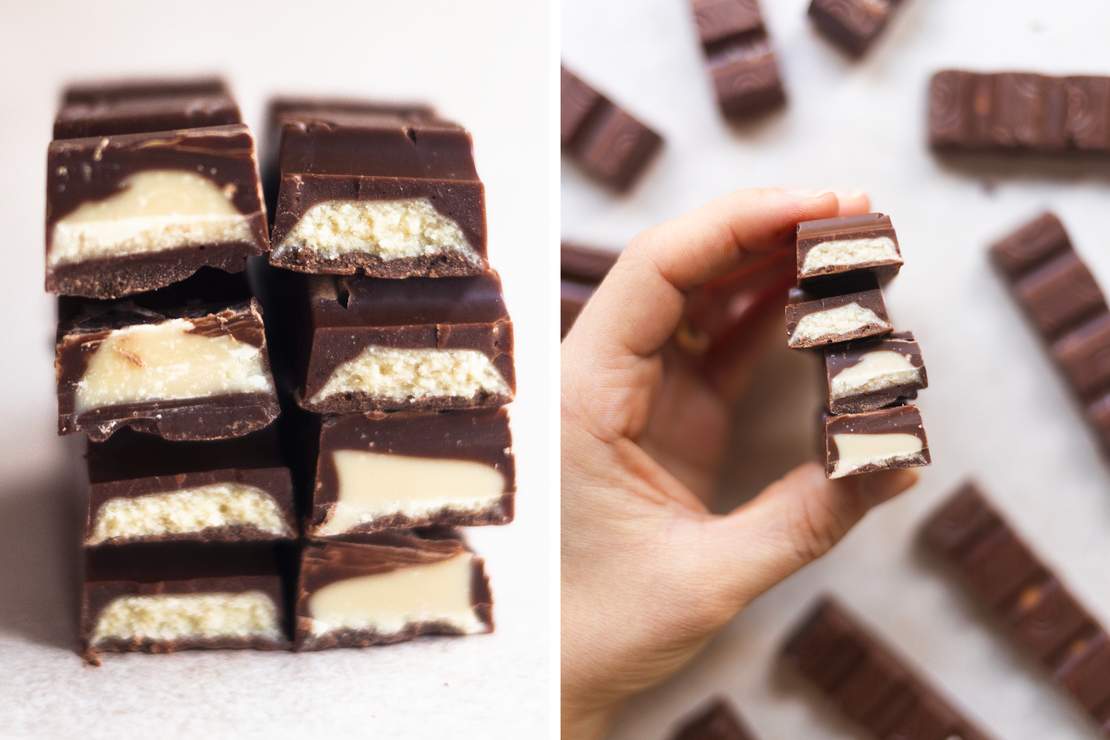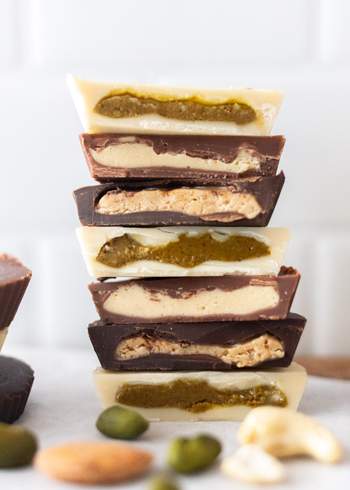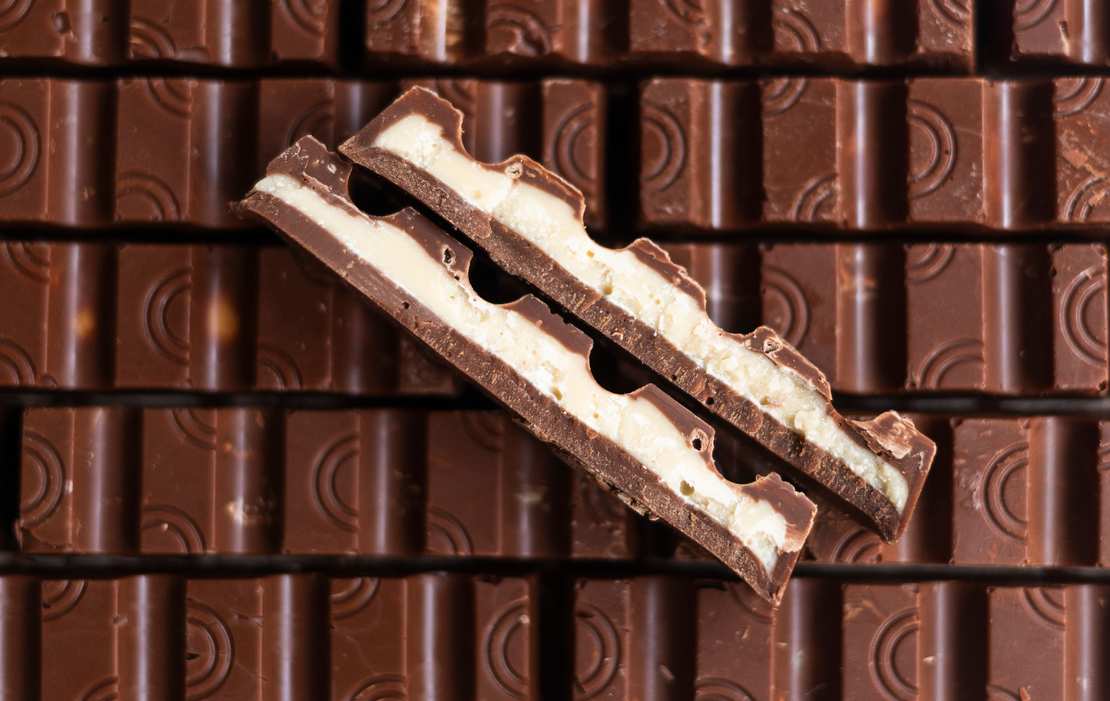
Vegan Kinder Riegel (Chocolate Sticks with Milk Filling)
I would really like to tell you now that our recipe for vegan „Kinder Riegel“ is absolutely easy and a sure-fire success. But this recipe involves tempering chocolate, and it's worth investing 2–3 minutes before you start the recipe. But don't worry: tempering chocolate is not rocket science; you can do it. You just need to remember a few points, which we will explain to you immediately so that no questions remain unanswered. The rest is not that difficult, we promise! So, let's get straight into it:
Why do you need to temper chocolate?
If chocolate is not tempered when it melts, it turns gray and loses its shine and crunch. This is not a problem at all if you are using melted chocolate in a brownie batter, for example, but unfortunately, it is quite unattractive if you want something in a crunchy chocolate shell or are preparing chocolate bars.
If the chocolate has not been tempered, you won't be able to get your bars out of the mold at the end, and the chocolate will turn grey and look dull. Your result will look nothing like the original.
How to temper chocolate correctly?
Well, what do you have to do to prevent this from happening? It's actually quite simple because it all depends on the temperature of the chocolate when it melts. When you prepare the water bath for your chocolate, you should first set your stove to a low setting (for example, setting 4 out of 10). You can then use a thermometer to check the temperature of your chocolate perfectly. It should never be hotter than 40-45 °C / 105 - 115 °F. Once this temperature has been reached and your chocolate has melted, remove the chocolate from the heat and add about a third of the total mass. This is also known as „seeding“. This cools the chocolate down again to around 31-32 °C / 87-89 °F. During this time, stir slowly with a spatula until the last third of the chocolate has also melted – using only the residual heat from the other chocolate, without a water bath.
If you prefer to watch videos here, the tempering of chocolate is also explained really well.
Do I need any special equipment to temper the chocolate?
A thermometer is, of course, particularly suitable for checking the temperature of the chocolate. If you don't have one, just try to melt the chocolate very slowly. With some luck, this will work (I speak from experience).
A pot for your water bath and a bowl is, of course, essential for melting the chocolate. You can, of course, also melt the chocolate in a microwave, but controlling the temperature is a little more difficult here.
Avoid using a whisk or mixer when stirring in the chocolate, as we don't want to incorporate any air into the chocolate. A dough scraper works really well for this.
Do I need anything else for the recipe?
Almost forgot! A mold in a chocolate bar shape would, of course, be very practical because otherwise, it would be difficult to get the typical „Kinder Riegel“ shape. Just search for it online, and you'll find a few products. Our mold measures 20 x 13 x 15 centimeters / 8 x 5 x 6 inches and is made of hard plastic. So, we didn't use a silicone mold.
And what about the ingredients?
They are actually pretty straightforward. You can find vegan white and „milk“ chocolate in larger supermarkets or online. To make the bars look and taste like the original, we would not recommend dark chocolate, as it is simply too bitter. Search for „vegan white chocolate bar“ in your browser, and you'll find a few products. We like to use a blonde one. You can also find great oat milk powder online, and REWE even has its own brand of oat milk powder. Then all you need is coconut oil, which you can find in almost every supermarket. And you're ready to go!

Vegan Kinder Riegel (Chocolate Sticks with Milk Filling)
Ingredients
For the vegan milk cream:
- 60 g (2.25 oz) vegan white chocolate
- 20 g (0.75 oz) oat milk powder
- 1 tbsp coconut oil
For the chocolate shell:
- 120 g (4.25 oz) vegan „milk“ chocolate
Instructions
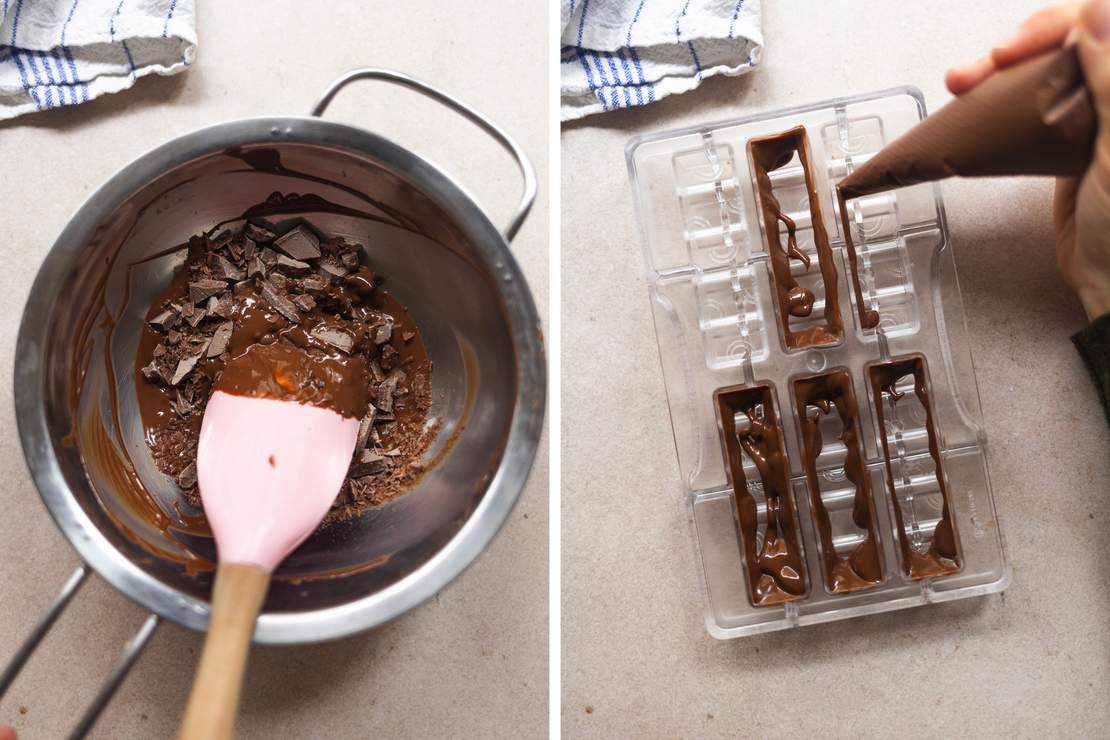
- Finely chop the vegan milk chocolate. 90 (3.25 oz) of the 120 grams (4.25 oz) are for the hollow body of the bar, and 30 grams (1 oz) are used for the base. Slowly heat 60 (2.25 oz) grams in a heatproof bowl over a pot of simmering water on low heat. The chocolate should not get warmer than 45 °C / 113 °F. As soon as the chocolate has melted, remove the bowl from the heat and add 30 grams (1 oz) of chocolate. Now, stir constantly with a spatula so the remaining chocolate melts before the temperature drops too low.
Tip: Be sure to check the temperature of the chocolate when heating it over the pot of simmering water. A thermometer will help you enormously here. If you don't have one, it can still work. Ensure that you only heat the pot of water on a low setting – this will take much longer, but the tempering will work in the end, and you will get the bars out of your mold.
Pour the melted chocolate into a piping bag and pipe it evenly into the bar mold to cover all sides. Swirl the mold back and forth so that the chocolate is well distributed. Tap the base several times so that all the air bubbles rise to the top. At the end, you can use a pastry card to remove any chocolate that has run out of the cavities easily. Place the tin in the fridge so the chocolate coating on the bars sets.
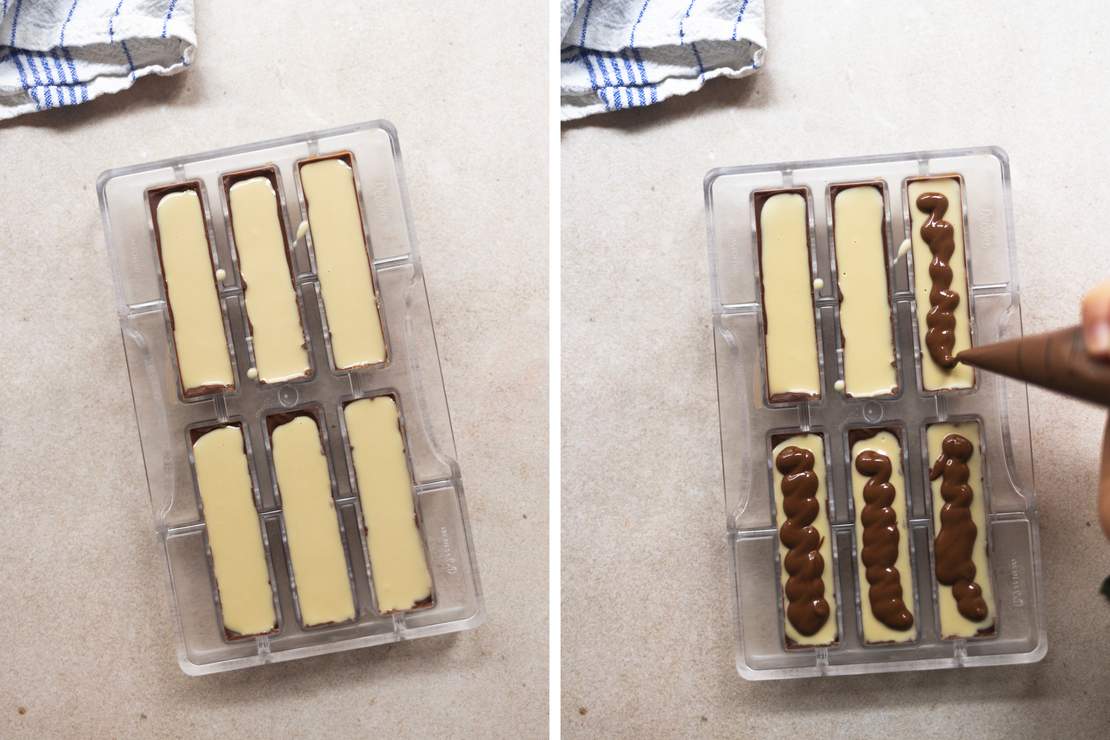
In the meantime, prepare the filling. To do this, heat a bowl over a pot of simmering water again on low heat and slowly melt the vegan white chocolate. Add the oat milk powder and coconut oil and pour the mixture into a piping bag. Remove the bar tin from the fridge and divide the filling between the six cavities. However, you should leave a little space for the base. Tap again several times so that the air bubbles come to the top, then let it chill in the fridge.
Prepare a final water bath for the base of the bars only when the filling is really firm and hardened. To do this, melt (again very slowly; the chocolate should not be warmer than 45 °C / 113 °F) 20 grams (0.75 oz) of the remaining „milk” chocolate in a heatproof bowl over a pot of simmering water, remove the melted chocolate from the heat, and add the remaining 10 (0.25 oz) grams at the end. Stir in again, pour into a piping bag and pour into the bar mold. The bars now have a base and can be left to cool in the fridge for at least 1 hour.
Remove the bars from the mold. To do this, turn the mold upside down and remove the bars from the mold with a firm tap on the back of the mold.
