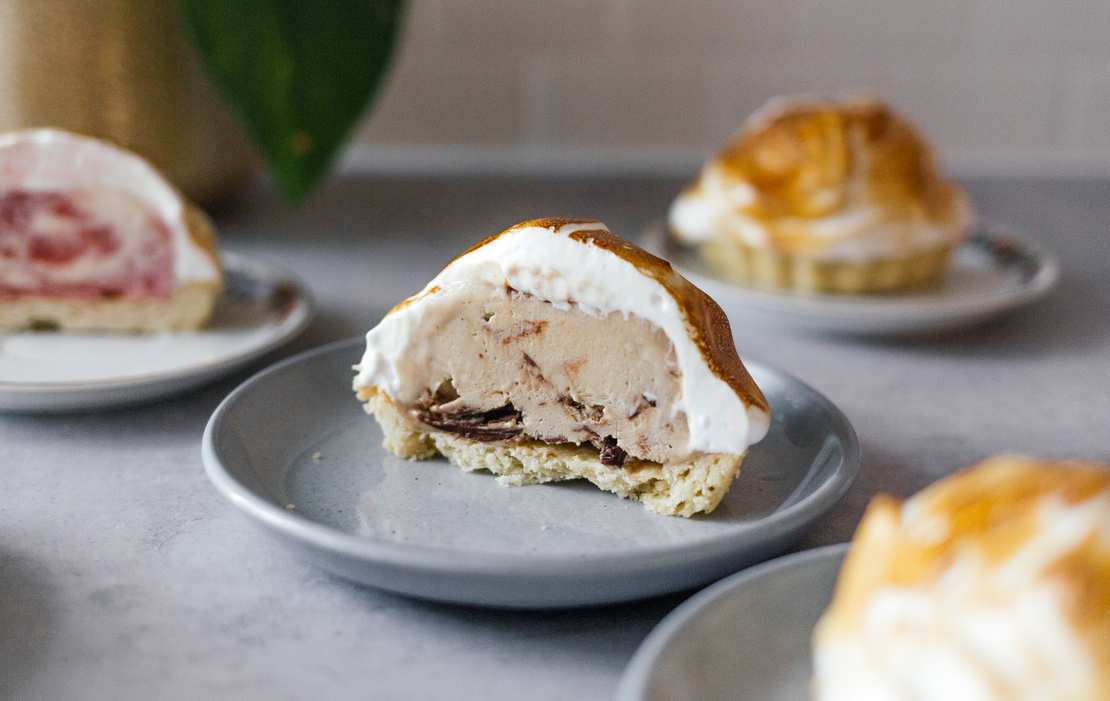
Vegan Mini Baked Alaska
Actually, my resolution for 2022 was clear: I would not develop a sweet recipe for the blog. Just because I'm the savory part of Zucker&Jagdwurst it doesn't mean I don't enjoy preparing sweet things in the kitchen, sure. But for the blog, I either picked the complicated recipes or made it unnecessarily difficult for myself. See: vegan gingerbread house and vegan Baumkuchen bites. That's why I wanted to give myself a sweet break this year and instead enjoy the little cakes and desserts that moved from the test kitchen to my plate.
Well, and now I'm sitting here making a vegan version of Baked Alaska, a mighty ice cream cake with a cake base and flambéed meringue coating. I really don't know how I ended up here, but I guess we all have to go through it now.
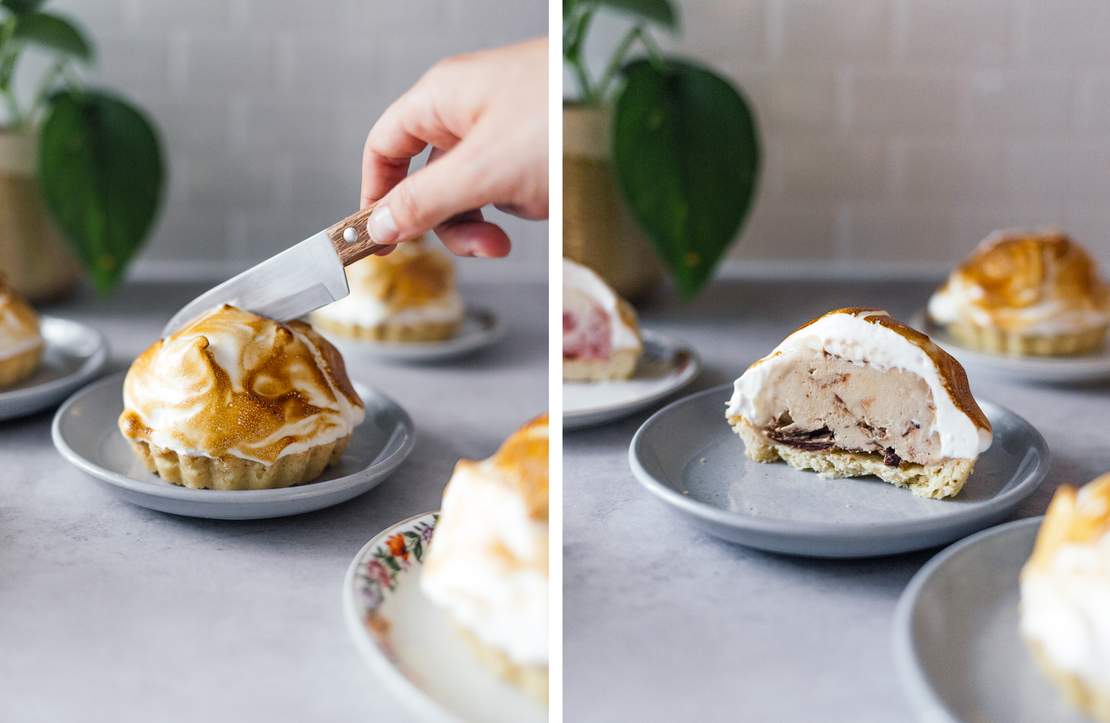
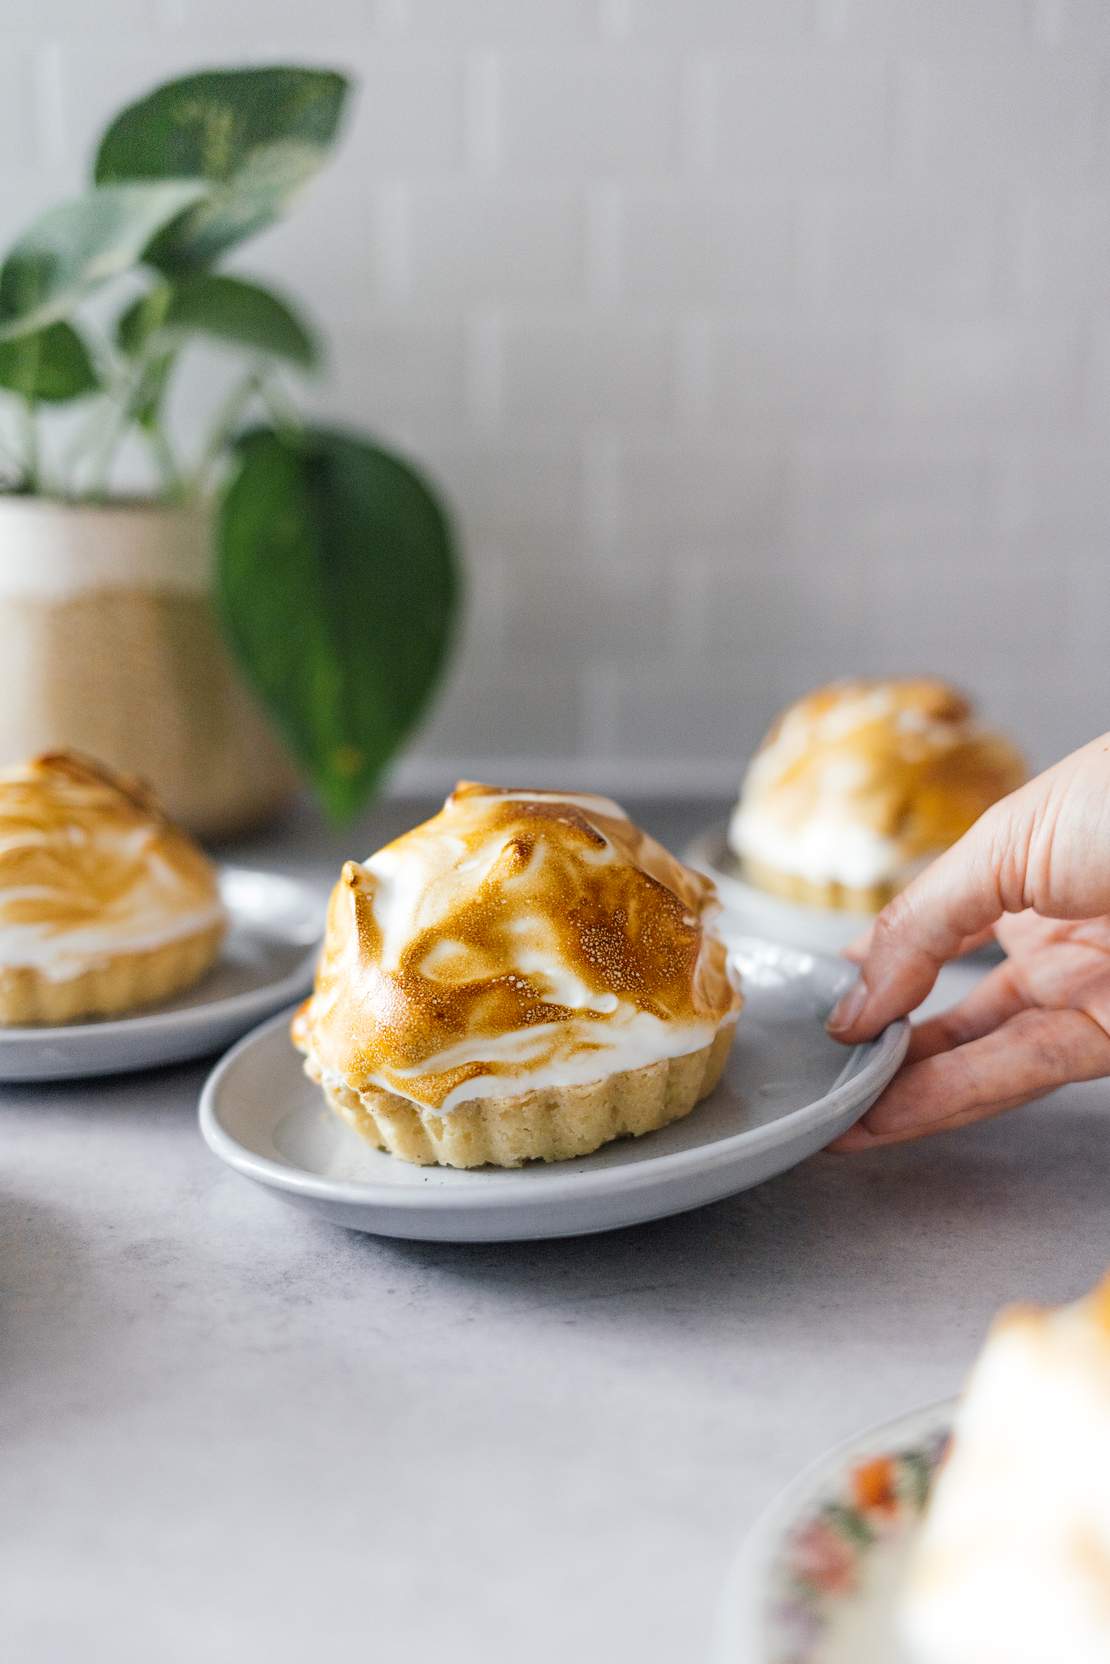
Baked Alaska is an absolute dessert classic and looks impressive. But actually, the preparation isn't even as complicated as you might think at first glance. However, I strayed from the classic path during the test cooking and made my own recipe adjustments (which also made my life a little easier). Strictly speaking, I guess we are no longer dealing with a "Baked Alaska" but with a delicious ice cream cake – or shall we say: delicious ice cream mini cakes. Although a large ice cream cake is imposing for sure, I just liked the idea of several smaller cakes much more. If you'd rather make the large Baked Alaska, all you have to do is adjust the size of the baking dish and bowl, but the measurements of the ingredients can stay the same.
Let's go through the individual components, shall we?
The base: The base of a classic Baked Alaska is a sponge cake, but I always found it lacking in contrast to the soft meringue layer and the ice cream when I first tested it. I kept thinking of a classic ice cream cone, so I opted for a crispy shortbread base. But you can use any cake base you like and search our cake recipes for it: from a classic sponge cake base to chocolate brownies everything is possible.
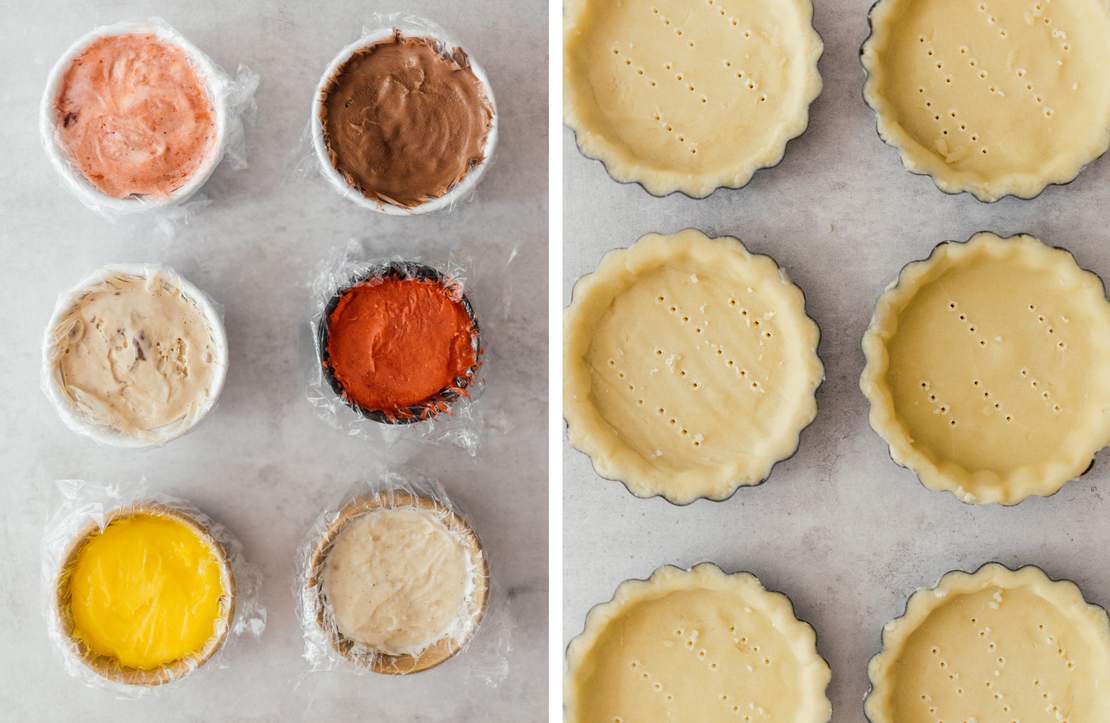
The ice cream: Basically, you can fill your ice cream cake with as many different types of ice cream as you like. But if you want to make it easier for yourself, it's better to use only one ice cream flavor, because this will save you a lot of work. To form the ice cream dome, it's best to line a bowl with plastic wrap and layer your vegan ice cream in it. Before you can form the domes properly, though, the ice cream must thaw a little. After that, the ice cream must go back into the freezer and completely freeze again – this is very important! If you are using several flavors of ice cream, you need to proceed step by step: thaw one flavor briefly, transfer it to the bowl, spread it, and let it freeze again. Then let the next ice cream thaw a bit and so on. I would also recommend adding "heavy," creamy ice cream flavors to the bottom of the bowl first and only using lighter flavors like fruit sorbets afterwards.
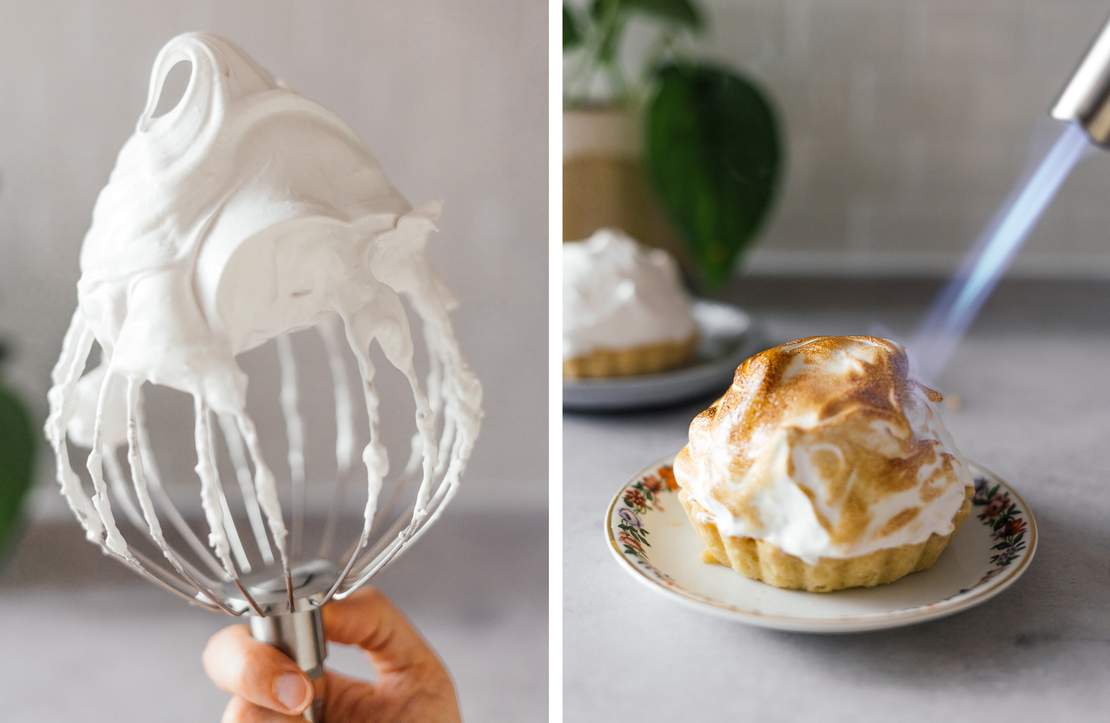
The Italian Meringue: The meringue layer is the reason why you can even put a classic Baked Alaska in the oven to brown the outer layer without melting the ice cream. It's like a thick, fluffy protective layer around the frozen core. And, of course, when it comes to a vegan meringue, aquafaba (the liquid of canned chickpeas) is not far behind. Baked Alaska works best with Italian meringue. This is made of beaten egg whites (or just whipped aquafaba) into which hot sugar syrup is poured. This makes the beaten egg whites much more stable and firm – which is also great for our sensitive aquafaba. By the way, you can basically optimize aquafaba for projects like a meringue if you let it simmer down to half – this way it can be whipped even better and gets an even better hold. Another tip I found at ["Project Vegan Baking"] (https://projectveganbaking.com/vegan-baked-alaska/) is using agar-agar, which I tested out and found very helpful. But if you don't feel like doing all of that, you can also use vegan whipped cream. Just know that it won't last as long on the ice cream cake, and you can't flambé it because it would melt away immediately.
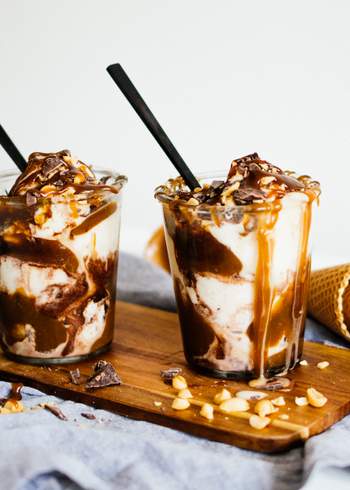
Final tips: Believe me - I've been through all the lows and highs with this recipe, and I can tell you that even if you fail with the ice cream cake, you can still rescue it and repurpose it as a sundae. It's still frustrating, of course, which is why I'd like to share my ultimate advice with you. For this recipe, you need patience. This is not a quick dessert that you can make on the fly. In order for the ice cream layers to be neat and for the vegan meringue not to slip right off the ice cream dome, the ice cream really needs to be frozen again – and that takes time. So rather take your time and divide the recipe over two days. On day one, for example, you can prepare the cake base and the ice cream dome, and on day two you can dedicate yourself to the vegan meringue, assemble everything and flambé it.

Vegan Mini Baked Alaska
Ingredients
For the shortcrust:
- 250 g (2 cups) wheat flour type 550 or spelt flour type 630
- 80 g (0.33 cup) sugar
- 1 pinch of salt
- 160 g (1.5 sticks) vegan butter (cold)
- 3 tbsp cold water (optional)
For the ice cream layer:
- 1-2 pints of vegan ice cream (one or more flavors as desired)
For the vegan meringue layer:
- 2 cans chickpeas (for about 200-250 ml (0.75-1 cup) aquafaba)
- 0.5 tsp cream of tartar
- 165 g (0.75 cup) sugar
- 70 ml (0.33 cup) water
- 1.5 tsp agar agar
- vegan sugar sprinkles (optional)
Instructions
For the shortcrust, mix flour, sugar, and salt in a large bowl. Add the cold vegan butter in flakes and knead in with cold hands. If needed, add cold water spoon by spoon and mix in. If the dough is too crumbly, carefully add more water. The dough shouldn't stick but form a nice, even ball. Let the dough rest in the refrigerator for at least 30 minutes.
Preheat the oven to 175°C/350°F (convection heat). Grease small tart molds with vegan butter and dust with flour. Roll out the dough on a floured work surface to a thickness of about 0.5 cm/0.2 inches. Then cut out circles that are about 1 cm/0.5 inches larger than the baking tins.
Carefully transfer the cutout dough to the baking molds and slightly press down on the edges. The dough should go to the top edge of the tart mold. Any excess can be cut off. Prick the bottom of the dough several times with a fork, so it doesn't bubble during baking.
Bake the tartelettes at 175°C/350°F (convection heat) for about 10 minutes on the middle rack, until lightly browned around the edges. Then remove from the oven, allow to cool completely, and release from the molds.
5 Meanwhile, line several small bowls with plastic wrap for the ice cream domes. The bowls should be smaller than your tart molds for the cake base.
Allow the vegan ice cream to thaw slightly, then add it into the lined bowls and smooth out. Cover with the remaining plastic wrap and return to the freezer until the ice cream is completely frozen again.
For the vegan meringue, drain the chickpeas and collect the aquafaba (the liquid of canned chickpeas) in a bowl. Measure out 200-250 ml (0.75-1 cup) of it and pour it into a small pan. Simmer over low heat for about 10 minutes while stirring, until it’s reduced by half (100 ml/0.5 cup). Then allow cooling completely.
Once the ice cream, shortcrust pastry, and the aquafaba are frozen or cooled, place one ice cream dome on each crust and return them to the freezer until the vegan meringue is ready.
Whip the remaining aquafaba and cream of tartar in a stand mixer for about 10 minutes.
In the meantime, bring sugar, water, and agar agar to a boil in a small saucepan and heat to 120°C/250°F – it's best to check this with a kitchen thermometer.
Once the sugar syrup is hot enough, carefully add it to the aquafaba by pouring it into the bowl from the edge, whisking as you go. Continue to whisk the mixture for about 5 minutes until you have a stable meringue and the bowl is much cooler to the touch. Optionally, you can fold vegan sugar sprinkles into the vegan meringue at the very end.
Spread the vegan meringue with a spoon or spatula around the frozen ice cream cakes and flambé. You can serve the mini Baked Alaska immediately or refreeze them if necessary. They will keep in the freezer for 1-2 weeks.
