Vegan Baumkuchen Bites
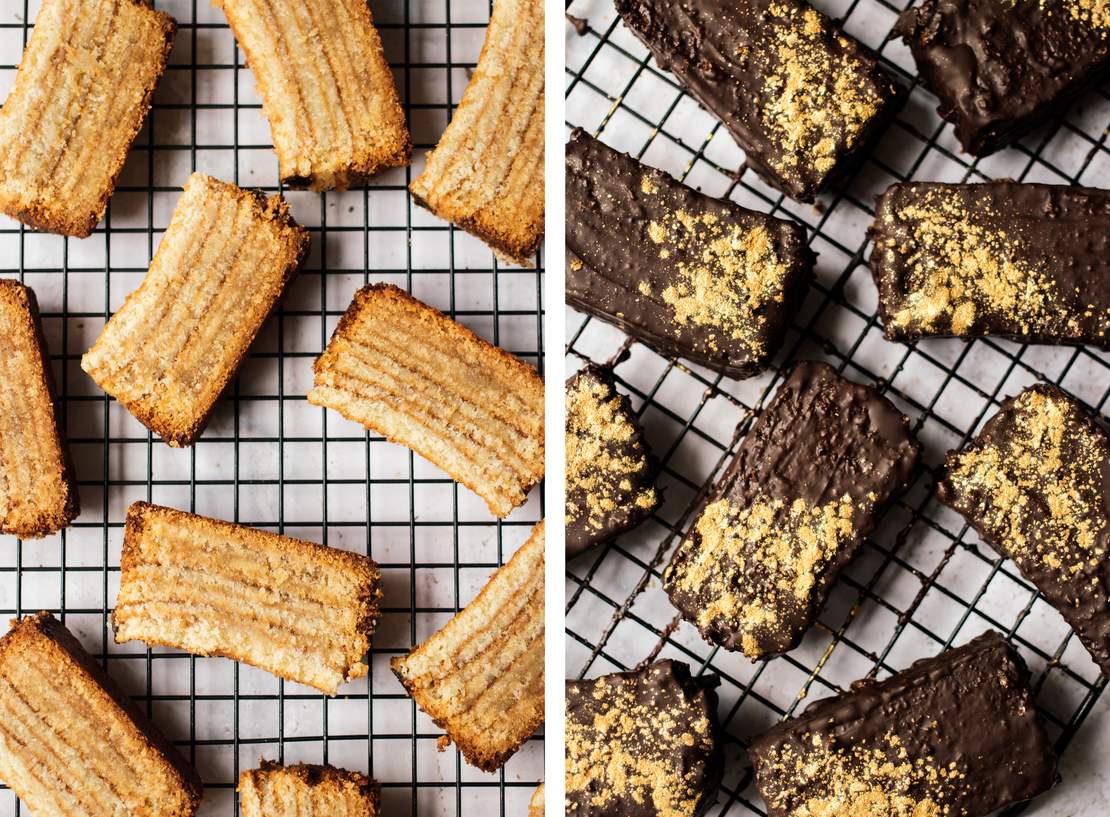
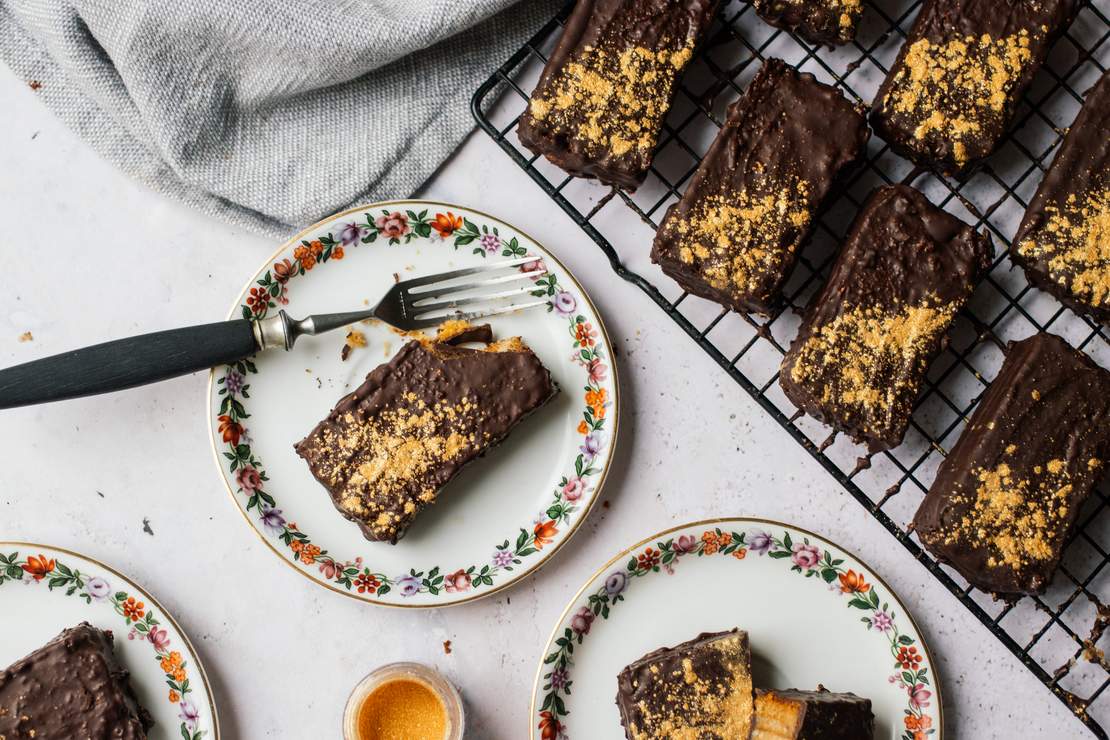
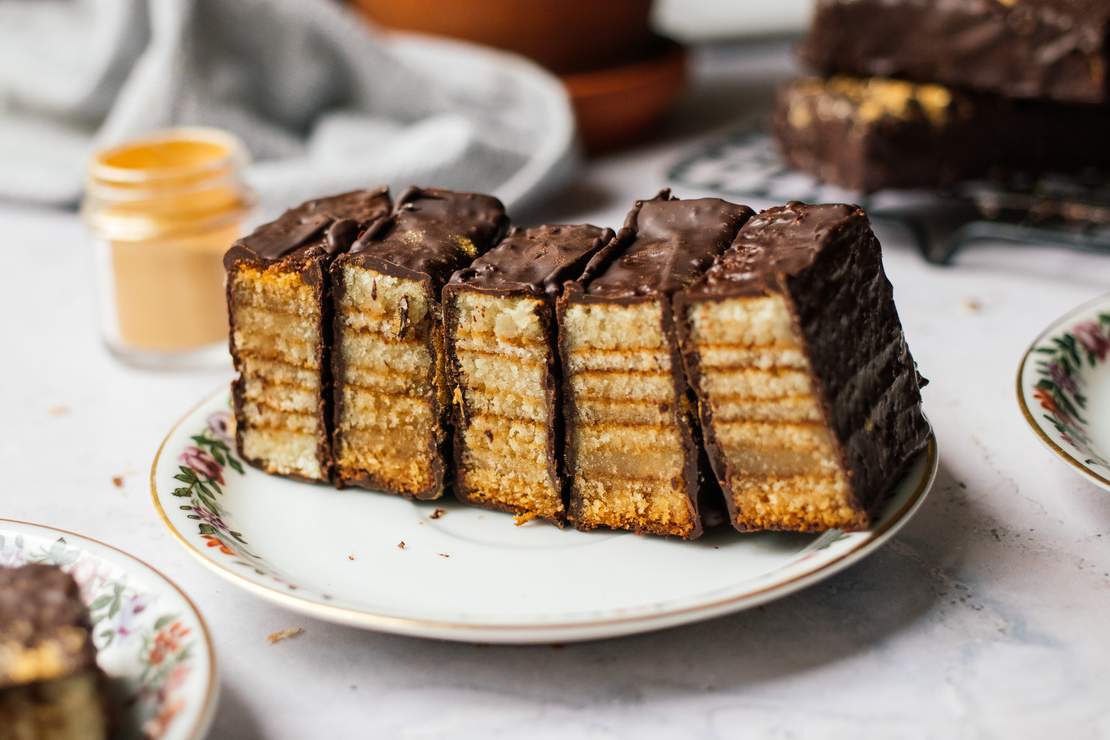
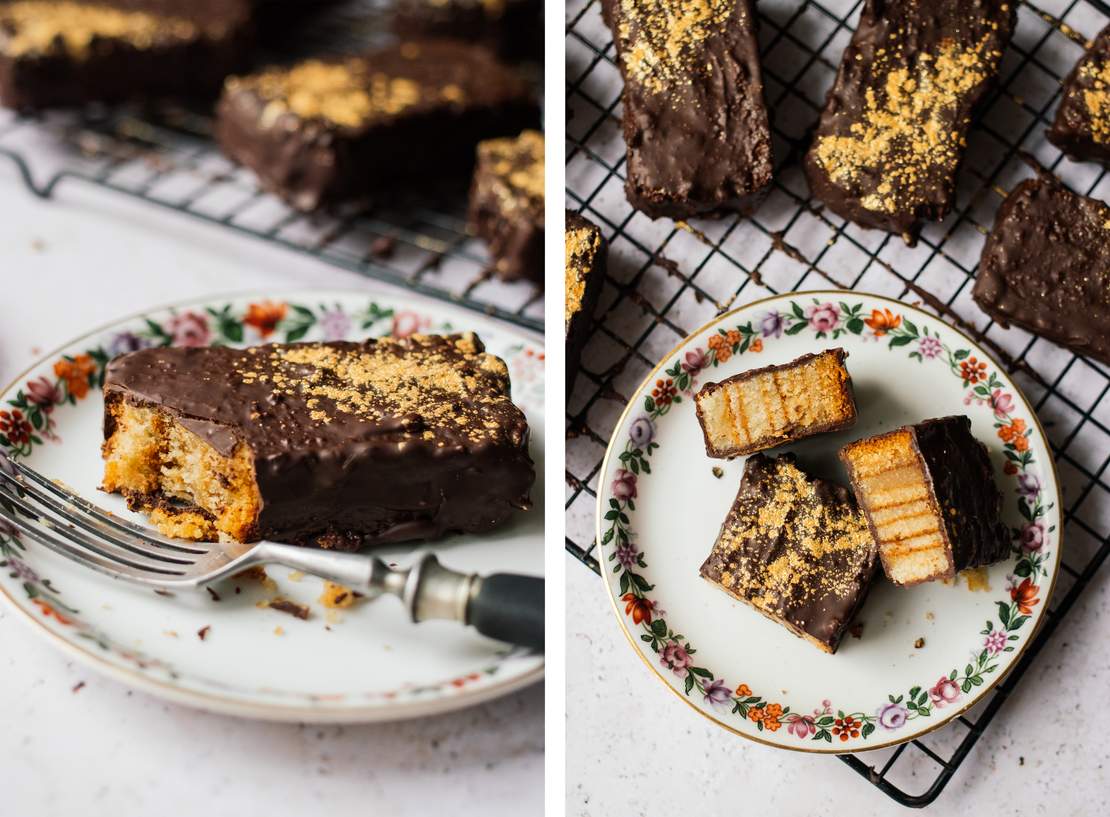
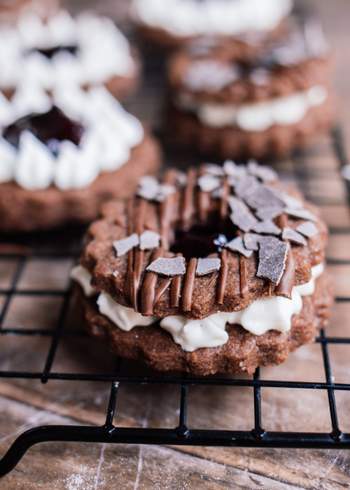
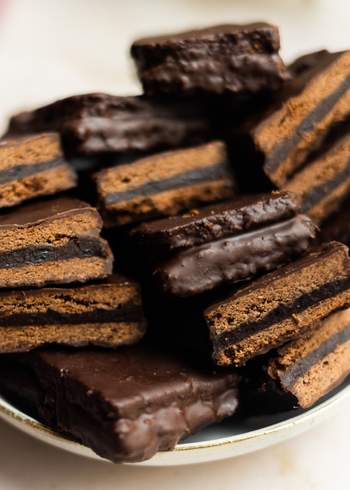
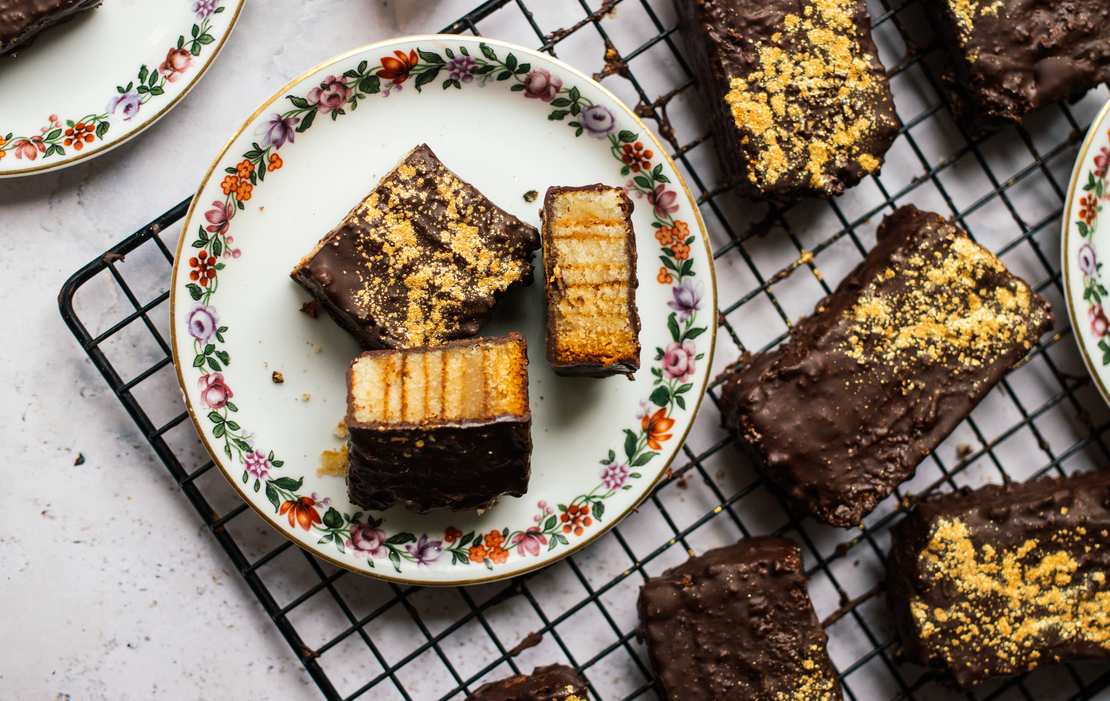
What you can see on these photos is my sixth or seventh attempt for vegan "Baumkuchen," a classic German cake that is usually connected to Christmas. While other Germans can't eat enough "stollen" in December, I preferred to eat this sweet, rather dry cake covered with chocolate around Christmas. Did I think that developing a vegan version would be that complicated? Not necessarily. But on the other hand: there seems to be a reason why I've never seen a vegan Baumkuchen at a bakery or supermarket before.
The last time I ate Baumkuchen was actually a decade ago – oh my! With the culinary memory in the back of my mind, I started with a basic research because I didn't even know how Baumkuchen is actually made. At Germany's Federal Ministry of Food and Agriculture, you can even find some quite specific information on Baumkuchen in their "Guiding Principles for Baked Goods". It's getting really adventurous now, and I try to translate this as precise as possible:
"Per 100 kg of cereal products and/or starches, the batter contains at least 100 kg of butter or the equivalent amount of pure butterfat and/or concentrated butter and at least 200 kg of whole eggs or equivalent amounts of whole egg products. Almonds, marzipan paste, nuts, and/or nougat can be added. Baking powder shall not be used."
Let me put it this way... according to these guidelines, we will not bake Baumkuchen today. Maybe not even a baked good. And unfortunately, we will also not use 100 kg of any ingredient.

Nevertheless, my first baking attempts began with a certain responsibility as I tried to avoid baking powder. Instead of the egg yolk, I used mixed soy flour with water, and to replace the whipped egg whites, I opted for aquafaba. I was happy with both choices, but yet my Baumkuchen came out of the oven way too moist – it didn't even bake through. I knew I couldn't stick to the guideline's proportions of butter to flour to egg anyway as the weight of aquafaba or the soy flour mixture just can't be compared to an egg. After several attempts, I also gave up on the baking powder ban and added some to the batter. This version came out of the oven much better, lighter, and fluffier.
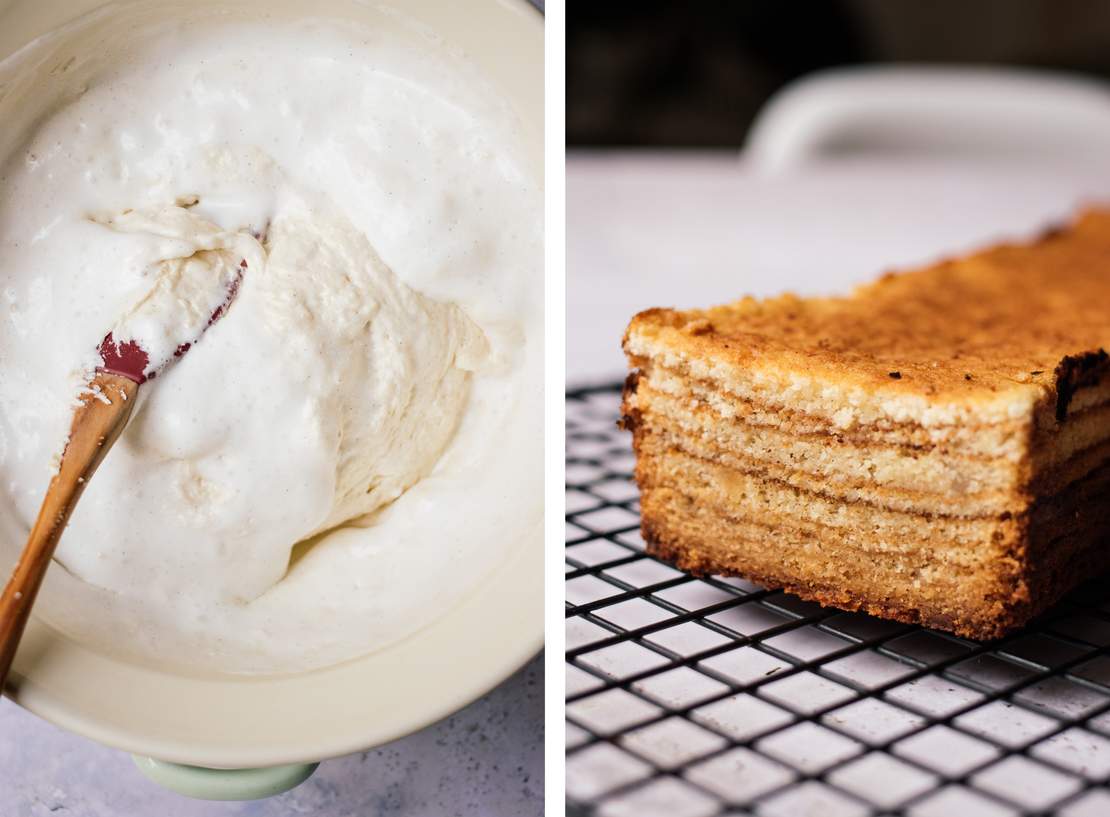
What made the recipe development just as difficult was the question of oven settings. Because how do you get this typical look of a Baumkuchen with its "tree rings"?
Well, in a professional bakery, it works like this. There's kind of an open fire and a long rollover in which the batter is poured layer by layer. Once a layer is browned, the next one is poured over. By constantly rotating the roll, the layer get very thin. Of course, this is not that easy to imitate at home, but in fact, we will also bake this cake layer by layer. Over a relatively long period of time, you will open the oven every few minutes to remove the baking pan out of the oven, spread the next thin layer of batter on top, and off you go to bake again. Always make sure to wait until the top layer is nicely browned, as this is what you'll recognize as the "tree rings" in the end.
It's important to get a feeling for your oven here. In the recipe below, I noted down the minutes it took MY oven to bake it, but it can take less or more minutes for your oven, so always keep an eye on your cake. Since we're going for top heat, don't place the baking pan too high up in the oven as this can cause burning quickly. I also tried to bake the cake in several pans: a springform pan, a loaf pan, and a baking sheet. I personally preferred the springform and the loaf pan, as this will result in a higher cake.
Finally, you have to decide whether you want to leave the cake as a whole to coat it with chocolate or if you want to cut it into smaller pieces of cake and glaze them individually. This way, you will have more chocolate around the single pieces, but it's also a lot more work.
And then... you're done! And with all the work that goes into this cake, I just want to say: be gracious to yourself and to your cake. If the tree ring layers are not perfectly visible or if the cake seems to be too "moist," you should still love it. I've stored my slices of cake in the fridge, and I have to admit that they even tasted the best after one or two days after baking.

Vegan Baumkuchen Bites
Ingredients
For the vegan 'egg white':
- 150 ml (0.66 cup) aquafaba (liquid of approx. 1 can of chickpeas)
- 2 tsp cream stiffener
- 1 tsp vanilla extract
- 0.25 tsp salt
- 2 tbsp vegetable oil (optional)
For the batter:
- 100 g (0.75 cup) flour
- 50 g (0.5 cup) ground almonds
- 100 g (0.75 cup) cornstarch
- 1 tsp baking powder
- 4 tbsp soy flour
- 8 tbsp water
- 100 g (3.5 oz) marzipan paste
- 150 g (0.75 cup) sugar
- 1 tsp vanilla extract
- 200 g (1.75 sticks) soft vegan butter
For decoration:
- 200 g (7 oz) dark chocolate
- edible vegan glitter or sprinkles
Instructions
Before we can get started, drain chickpeas but save the liquid (the aquafaba) in a bowl and let it cool in the fridge for approx. 15 minutes.
In the meantime, mix flour, ground almonds, cornstarch, and baking powder in a bowl and set aside. Add soy flour and water to a small jar and stir to combine.
Mash marzipan paste with a fork or finely grate it to avoid any large bits. Add it to a bowl along with sugar, vanilla extract, and soft vegan butter, then beat with a hand mixer or in a stand mixer for approx. 3-4 minutes until fluffy. You should make sure that the marzipan paste isn't chunky anymore. Add the soy flour mixture and keep beating for approx. 2-3 minutes. Finally, add the flour mixture and stir to combine until a smooth batter forms.
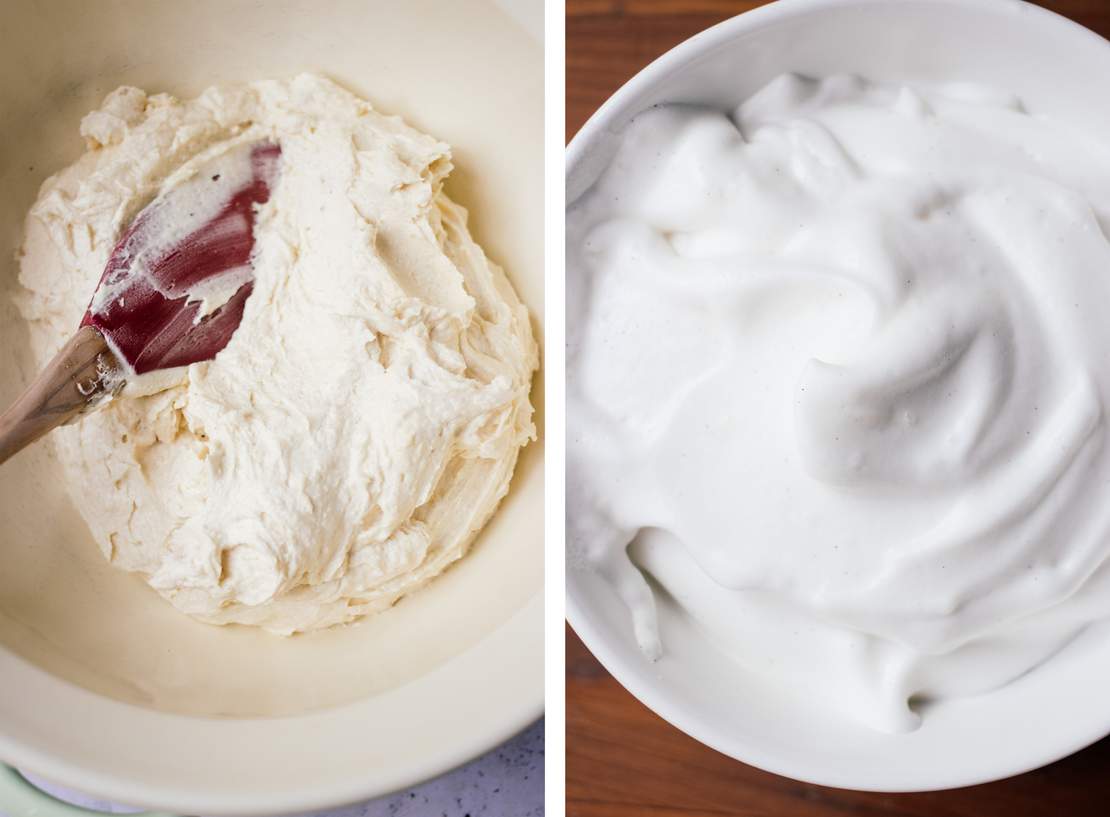
Preheat oven to 240°C/460°F top heat (or even use the grill function). Set aside the batter – in case you're using a stand mixer, transfer the batter to a second large bowl, then clean the bowl of your stand mixer. Add the cooled aquafaba, cream stiffener, vanilla extract, and salt to the bowl. Whip for approx. 8-10 minutes – it should at least double, maybe even triple in volume, and get stiff in the end. Pour in vegetable oil slowly and keep whipping for approx. 2-3 minutes. Once this is done, you should be able to turn the bowl of aquafaba upside down without the whipped mixture falling out.
Using a rubber spatula, gently fold the whipped aquafaba in portions in the batter (do not use your stand mixer for this). In the end, you should get a rather fluffy, soft batter.
Line the bottom of a baking pan with parchment paper and grease it lightly. Add approx. 2 tbsp of the batter and spread it out on the bottom of the baking pan – this works best with an offset spatula. Add the baking pan to the lower third of your oven and bake for approx. 6 minutes, or until the top of the batter is browned. Timing can and will depend on your oven, so just wait until the browning is there. If you remove the baking pan from the oven too early, the cake will not be baked right through, and you will also not see any stripes in the cake at the end.
Remove the baking pan from the oven. Carefully spread another 2 tbsp of the batter on top of the current cake base, then add it back to the oven. Bake for another approx. 6 minutes, or until the top layer is browned. Repeat this step until you've used up all the batter. We can only recommend to not move too far from the oven and to always keep an eye on the cake to avoid burning. And always make sure to wait until the top layer of the cake is browned until you add the next one.
As soon as the last layer is baked, remove the baking pan from the oven and let the Baumkuchen cool out completely. You can now choose if you want to keep the cake as a whole or if you want to cut it into pieces. It basically depends on how much chocolate glazing you want around the cake.
Melt dark chocolate in a heatproof bowl over a pot of simmering water. Once it's melted, cover your Baumkuchen (or every single piece) with it, then let the chocolate dry. While the chocolate is still soft, sprinkle the cake with edible glitter or any other sprinkles.
