
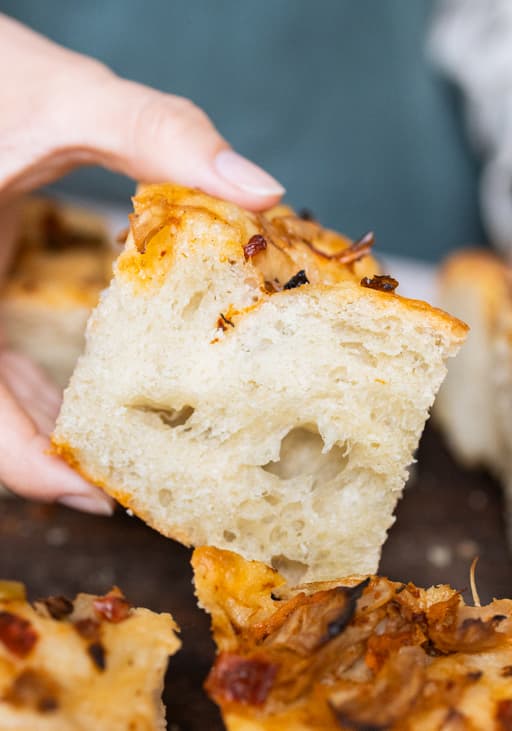
Sourdough Bread with Potato & Walnut
A recipe by Katja Hansen
My fascination with sourdough bread began about two years ago when a friend started his training as a sourdough baker. As a result, I was constantly exposed to a wide variety of bread, from classic wheat to spelt and rye, but I also tried more unusual bread such as Vinschgerl or Seelen and was thrilled from the first bite. Bread, in general, has always been an integral part of my diet. For as long as I can remember, I have enjoyed my mom's homemade bread, but she mostly baked it with yeast and not sourdough.
The world of sourdough can seem vast and complex, but fear not, I'm here to guide you through it. Today, I'll break down the process and share some tips to make it as simple as possible. So, are you ready to embark on this sourdough bread-baking journey with me?
The advantages of baking with sourdough
First, I would like to talk about the advantages of baking with sourdough: Due to the fermentation of the dough and the resulting long resting times, sourdough bread is easier to digest and, therefore, more digestible. Sourdough bread also stays fresh for longer. The crust traps moisture for longer, keeping the bread moist. And the third important point is the taste. Anyone who has ever eaten sourdough bread probably knows what I'm talking about. Sourdough bread tastes much stronger and a little more sour than yeast bread.
From Hermann to Fridolin
My very first contact with sourdough was probably Hermann. Who still knows him? It's a kind of chain letter that consists of a sourdough starter and instructions on how to look after Hermann. You pass this on to friends and acquaintances. If you want to delve deeper into this, you can read more, for example here). In this context, I immediately asked myself why so many people give their sourdough starters names, but the reason is quite simple. You have to look after it a lot, feed it constantly and need a lot of patience (at least when starting it). So it's like a little pet. We asked you on Instagram what we should call our sourdough, and Fridolin was our favorite.
How to prepare a sourdough starter
You're probably wondering how to make a sourdough starter. As the explanation would take too long, I'll link you to a great instruction. Alternatively, I have two more ideas if you prefer something more straightforward. Firstly, you can often buy powdered starters at supermarkets or organic stores. Secondly, you can ask sourdough bakeries to get some of their starter. Ideally, take a small tin with you. I've always had good luck in Berlin.
From sourdough starter to bread
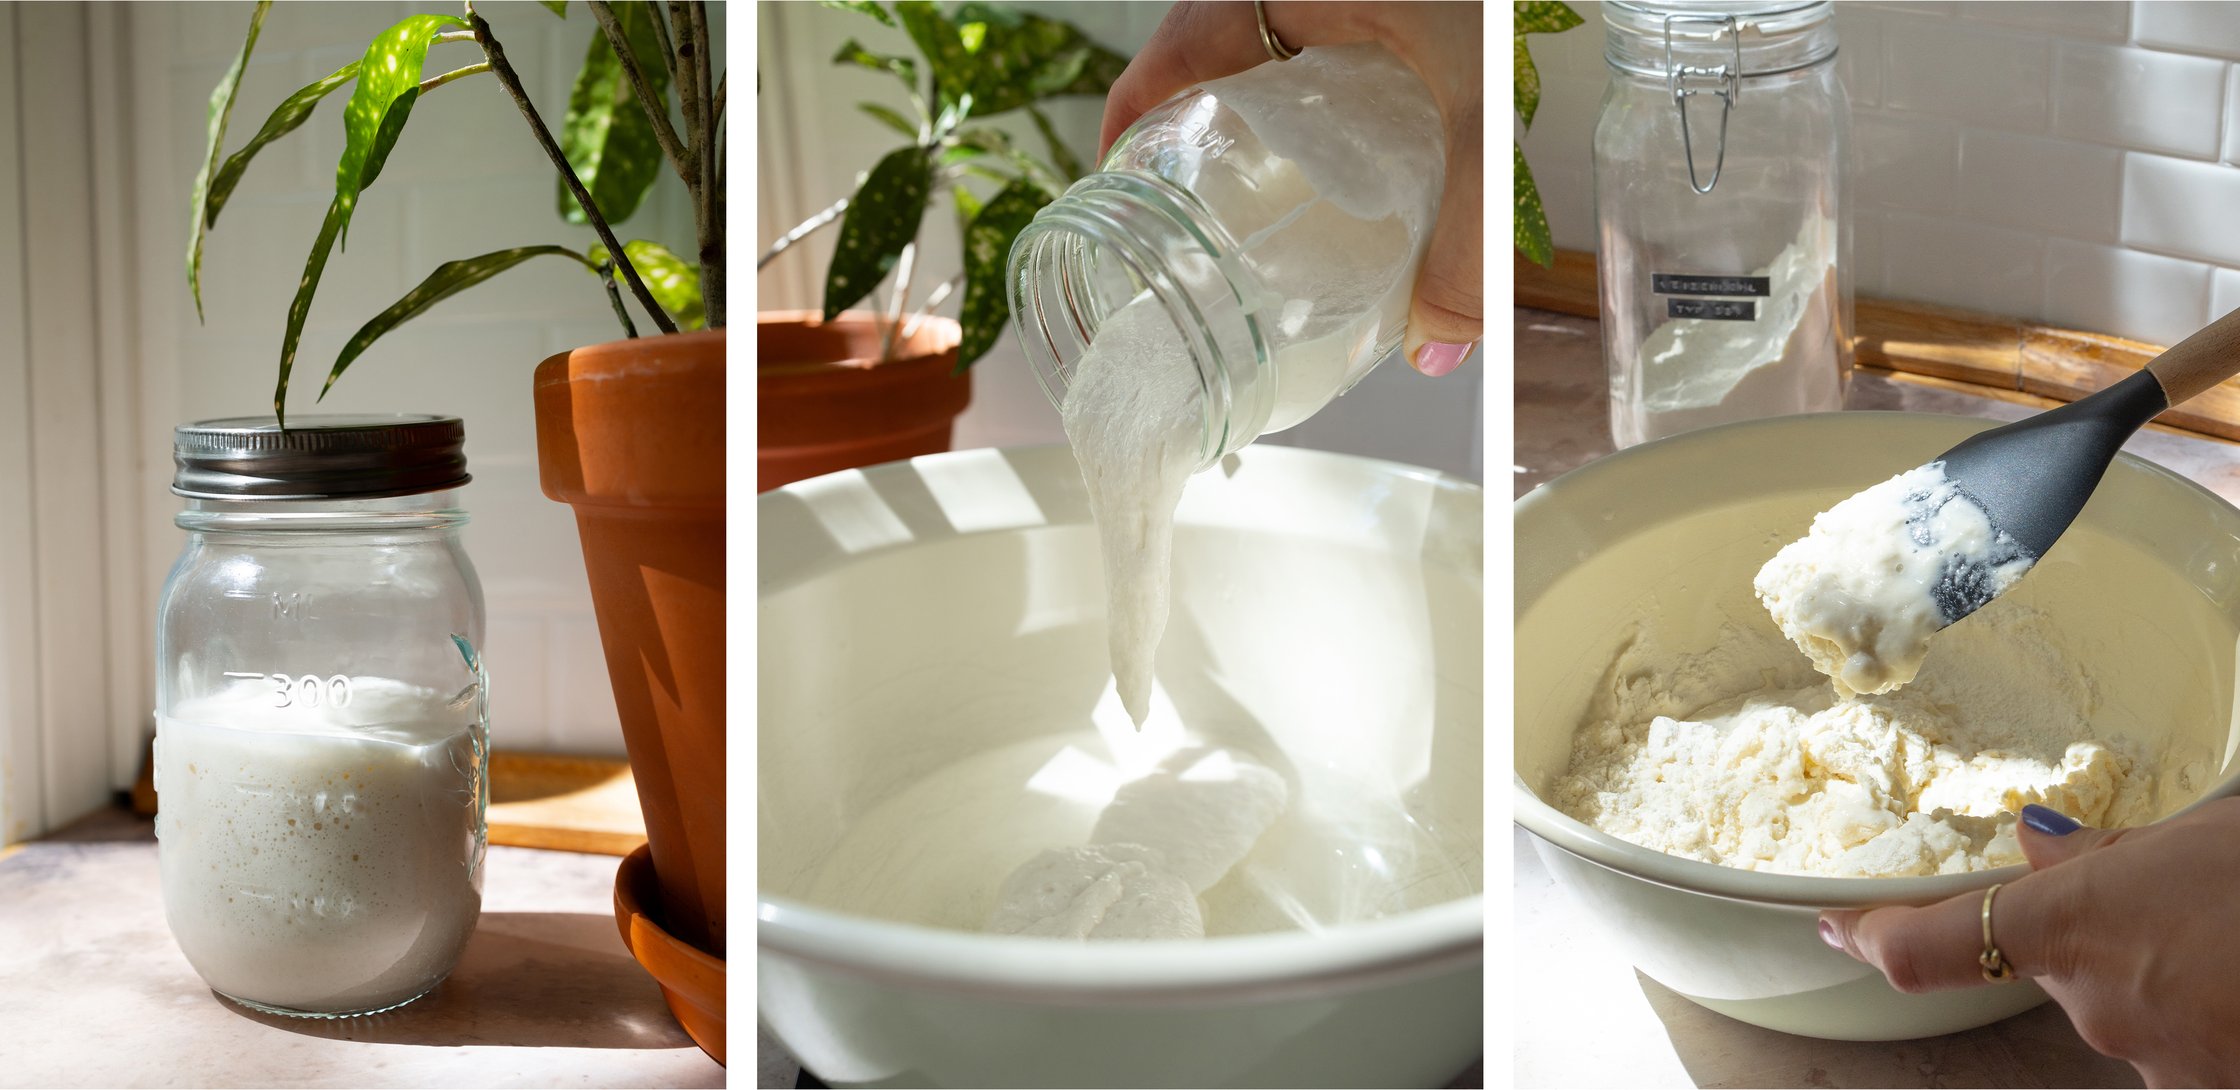
So, once the starter has been prepared, it's time to start baking or, rather, making the dough. But how do I know that my starter is ready? There are various tests for this. If the starter starts to bubble and increases in volume, that's a great sign. You can then try a little - if it tastes sour, it's probably ready. But to be 100% sure, fill a glass with water and add a teaspoon of starter to the glass. If it floats, it is ready. If it sinks, it needs a little more time.
Once the sourdough starter, water, and flour have been mixed, we set the dough aside for another hour to autolyze. During this process, the starch and protein in the flour swell, allowing the gluten in the flour to develop into long strands that give the dough structure and cohesion. (source) The salt water is only added afterward, as it would hinder the formation of the gluten structure.
How to fold sourdough
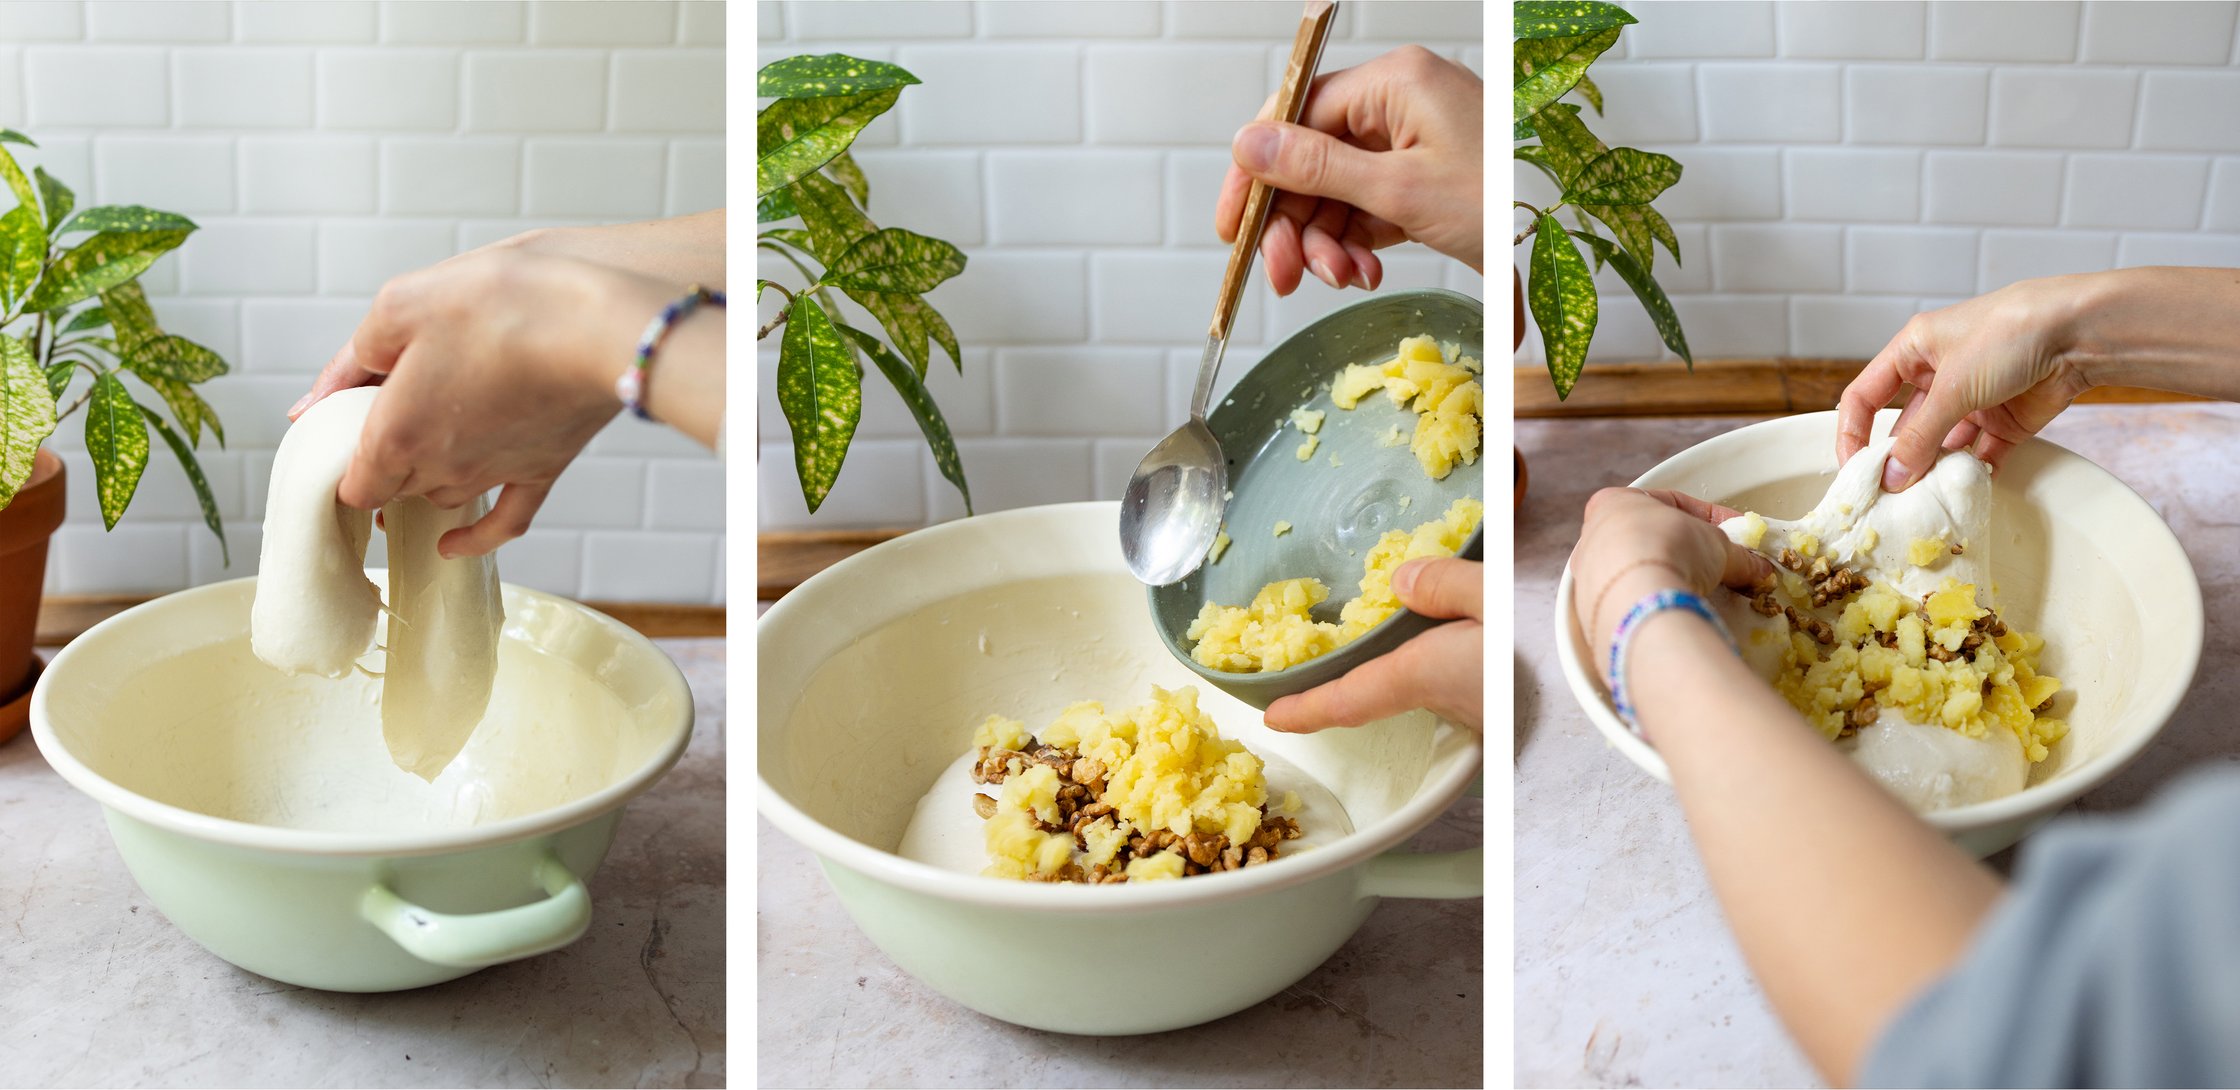
We now come to the supposedly most complicated part: the folding. There are several variations, all of which work and are equally good. So, if you have previous experience, do it the way you feel most comfortable. We fold our dough a total of six times. I have an example video here for you for the first five times. We will fold in the potatoes and walnuts the sixth time, which is why we change our technique - you can see that here. Generally speaking, folding further builds up the gluten structure of the flour, creating more structure and, ultimately, more volume. So, this step is super important when baking with sourdough.
Equipment you should have at home for this recipe
One last question: what equipment is essential for baking good sourdough bread? A cast-iron pot is important: the heat needed to bake bread collects inside the pot. The closed pot also saves you from steaming the oven. This is because the evaporation of the water from the dough automatically steams the bread, keeping the crumb and the surface of the dough moist. After removing the lid, a crispy crust is formed. The second important utensil is a thermometer: A thermometer is essential both when preparing the dough and when measuring the core temperature. I would recommend a proofing basket if you plan to bake more often in the future. When I didn't have a proofing basket at the beginning, I made one myself from a bowl, a kitchen towel and a large rubber band - it works really well.
No question, baking sourdough bread is not a matter of five minutes. And you might not get it perfect the first time, but the more often you try, keep at it and have fun with it, the better and easier it will become over time. But regardless of whether your first loaf doesn't rise perfectly or the crust doesn't end up looking as nice as on some Instagram pages, it will always taste good and you will be proud when you hold your first loaf in your hands, I promise.


Sourough Bread with Potato & Walnut
Ingredients
For the sourdough:
30 g (1 oz) wheat sourdough starter
30 g (1 oz) water
30 g (1 oz) wheat flour (type 550)
For the dough:
300 ml (1.33 cups) water
60 g (2 oz) sourdough starter
400 g (14 oz) wheat flour (type 550)
8 g (0.25 oz) salt
140 g (5 oz) waxy potatoes
80 g (2.75 oz) walnuts
Also:
rye flour
Instructions
Day 1 (in the morning) - Prepare the sourdough starter:
Mix the sourdough with lukewarm water in a medium-sized tin. Then add the wheat flour and mix again so that no lumps form.
Only put the lid on the tin; do not close it completely. Place the container warmly for about 3–4 hours until bubbles form.
Then, test whether the starter is ready. To do this, fill a glass with water and add a teaspoon of the starter. If it floats, it is usable. If it sinks, it must be returned to the warm place until it is ready.
Day 1 (midday) - Prepare the dough:
Put 275 ml of water (33 °C / 90 °F) with 60 grams of sourdough starter and wheat flour in a large bowl and knead. Cover and leave in a warm place for about 1 hour for autolysis.
Pour the remaining 25 milliliters of water and salt into a glass and swirl to dissolve the salt. After the dough has stood for 1 hour, add the salt water and knead well.
Tip: If the dough is too sticky during the following steps, moisten your hands with water.
Now, fold the dough. To do this, place both hands under the middle of the dough and lift it so that both ends of the dough pull down. Place the dough back in the bowl and change direction the next time. Repeat the folding 4–5 times until the dough is taut. Then, cover the dough, place it in a warm place, and repeat this process four more times at 30-minute intervals.
Meanwhile, bring a pan of salted water to a boil. Peel and chop the potatoes and cook until soft, then drain and mash with a potato masher or fork. The more large pieces of potato you want to end up with in the bread, the less you need to mash them. Roughly chop the walnuts and toast in an oil-free pan. Set both to one side and leave to cool.
The 6th folding is slightly different from the previous times. Place half of the potatoes and walnuts in the center of the dough. Now, pull the two top corners upwards and then fold them downwards over the dough. Turn the bowl 180 ° and repeat the process. Then, fold the remaining two sides inwards. Place the remaining potatoes and walnuts in the middle of the dough and repeat the folding process. Cover the bowl and place in the fridge overnight (at least 12 hours).
Tip: We have linked two videos in the intro that explain the two folding methods.
Day 2 (in the morning) - Prepare the dough for baking:
Take the dough out of the fridge and turn it onto a damp work surface, seam side down. Shape it into a round. The surface should be even and firm.
sprinkle the proofing basket with rye flour and place the dough ball in the basket with the seam facing upwards. Cover with a kitchen towel and leave to stand for approxamatly 60–90 minutes.
Place the cast-iron pan on a rack on the middle shelf in the oven and preheat to 250 °C / 480 °F (top and bottom heat).
Day 2 - Baking:
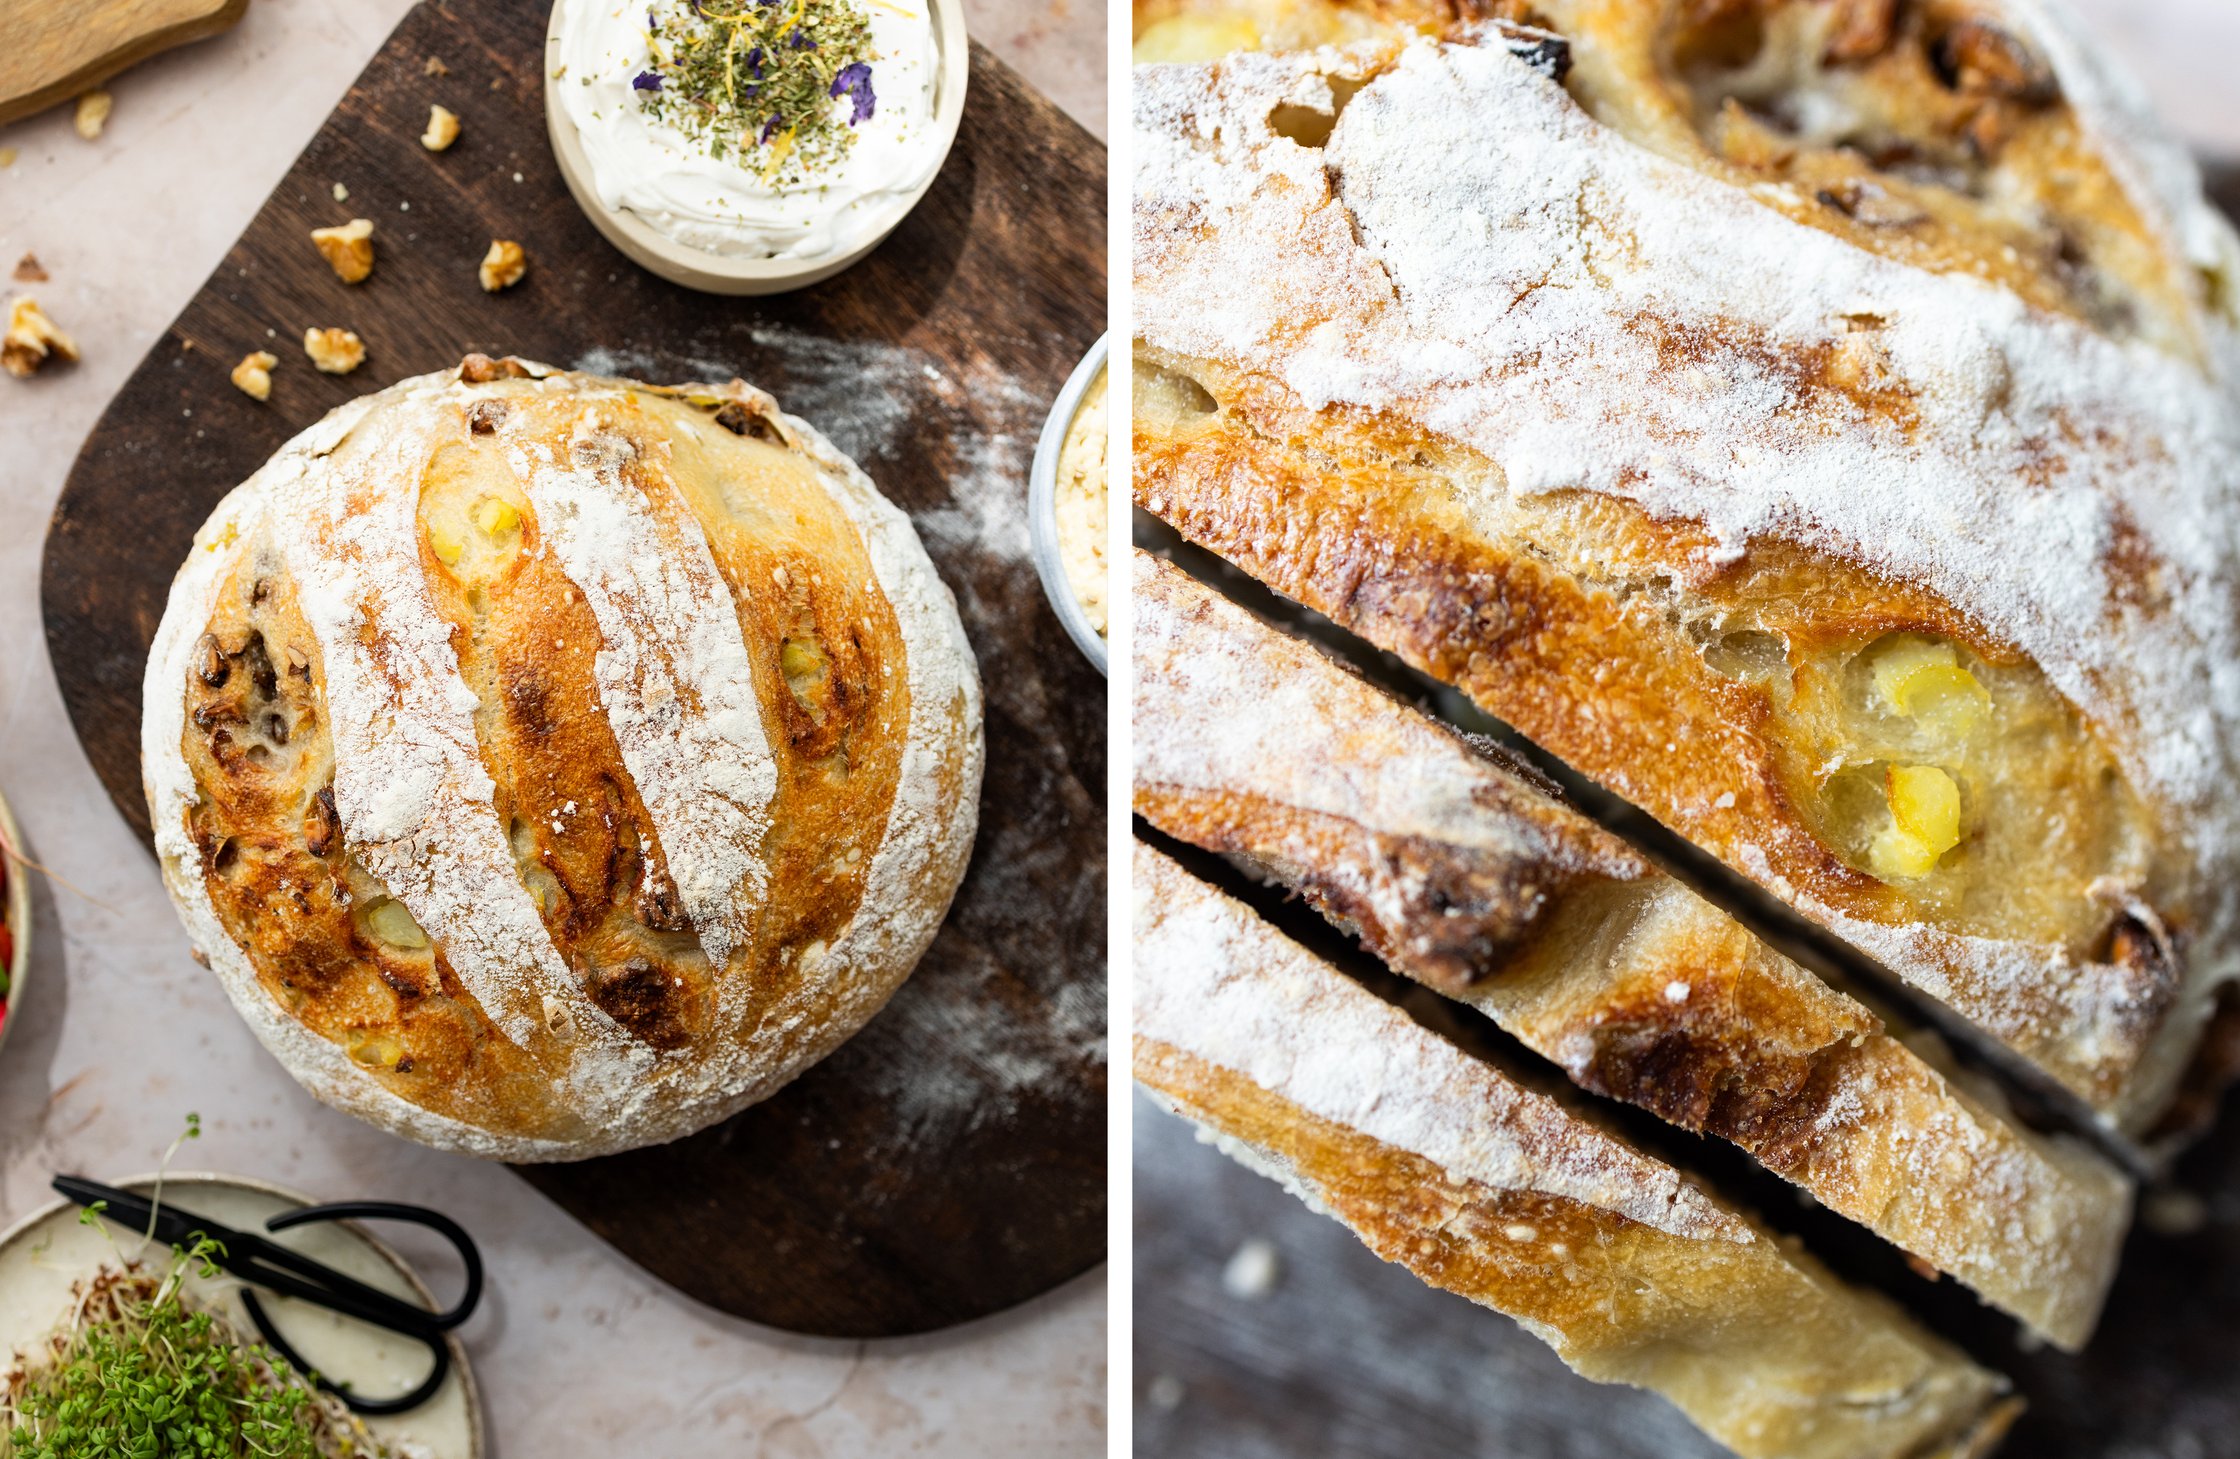
As soon as the oven and dough are ready, take the pan out of the oven, sprinkle the inside with a bit of rye flour and turn the dough seam side down into the pan. Sprinkle the top of the bread with rye flour and then score it with a razor blade or a sharp knife by about 1 centimeter. Place the lid on the pan and bake the bread at 250 °C / 480 °F (top and bottom heat) for 20 minutes.
Tip: There are many videos on how to score your bread. Be as creative as you like.
After 20 minutes, set the oven to 230 °C / 450 °F, remove the lid from the cast iron pan and bake the bread for another 20 minutes until it is nicely browned. If it is not brown enough, bake for another 5 minutes. The core temperature should reach at least 95 °C / 200 °F.
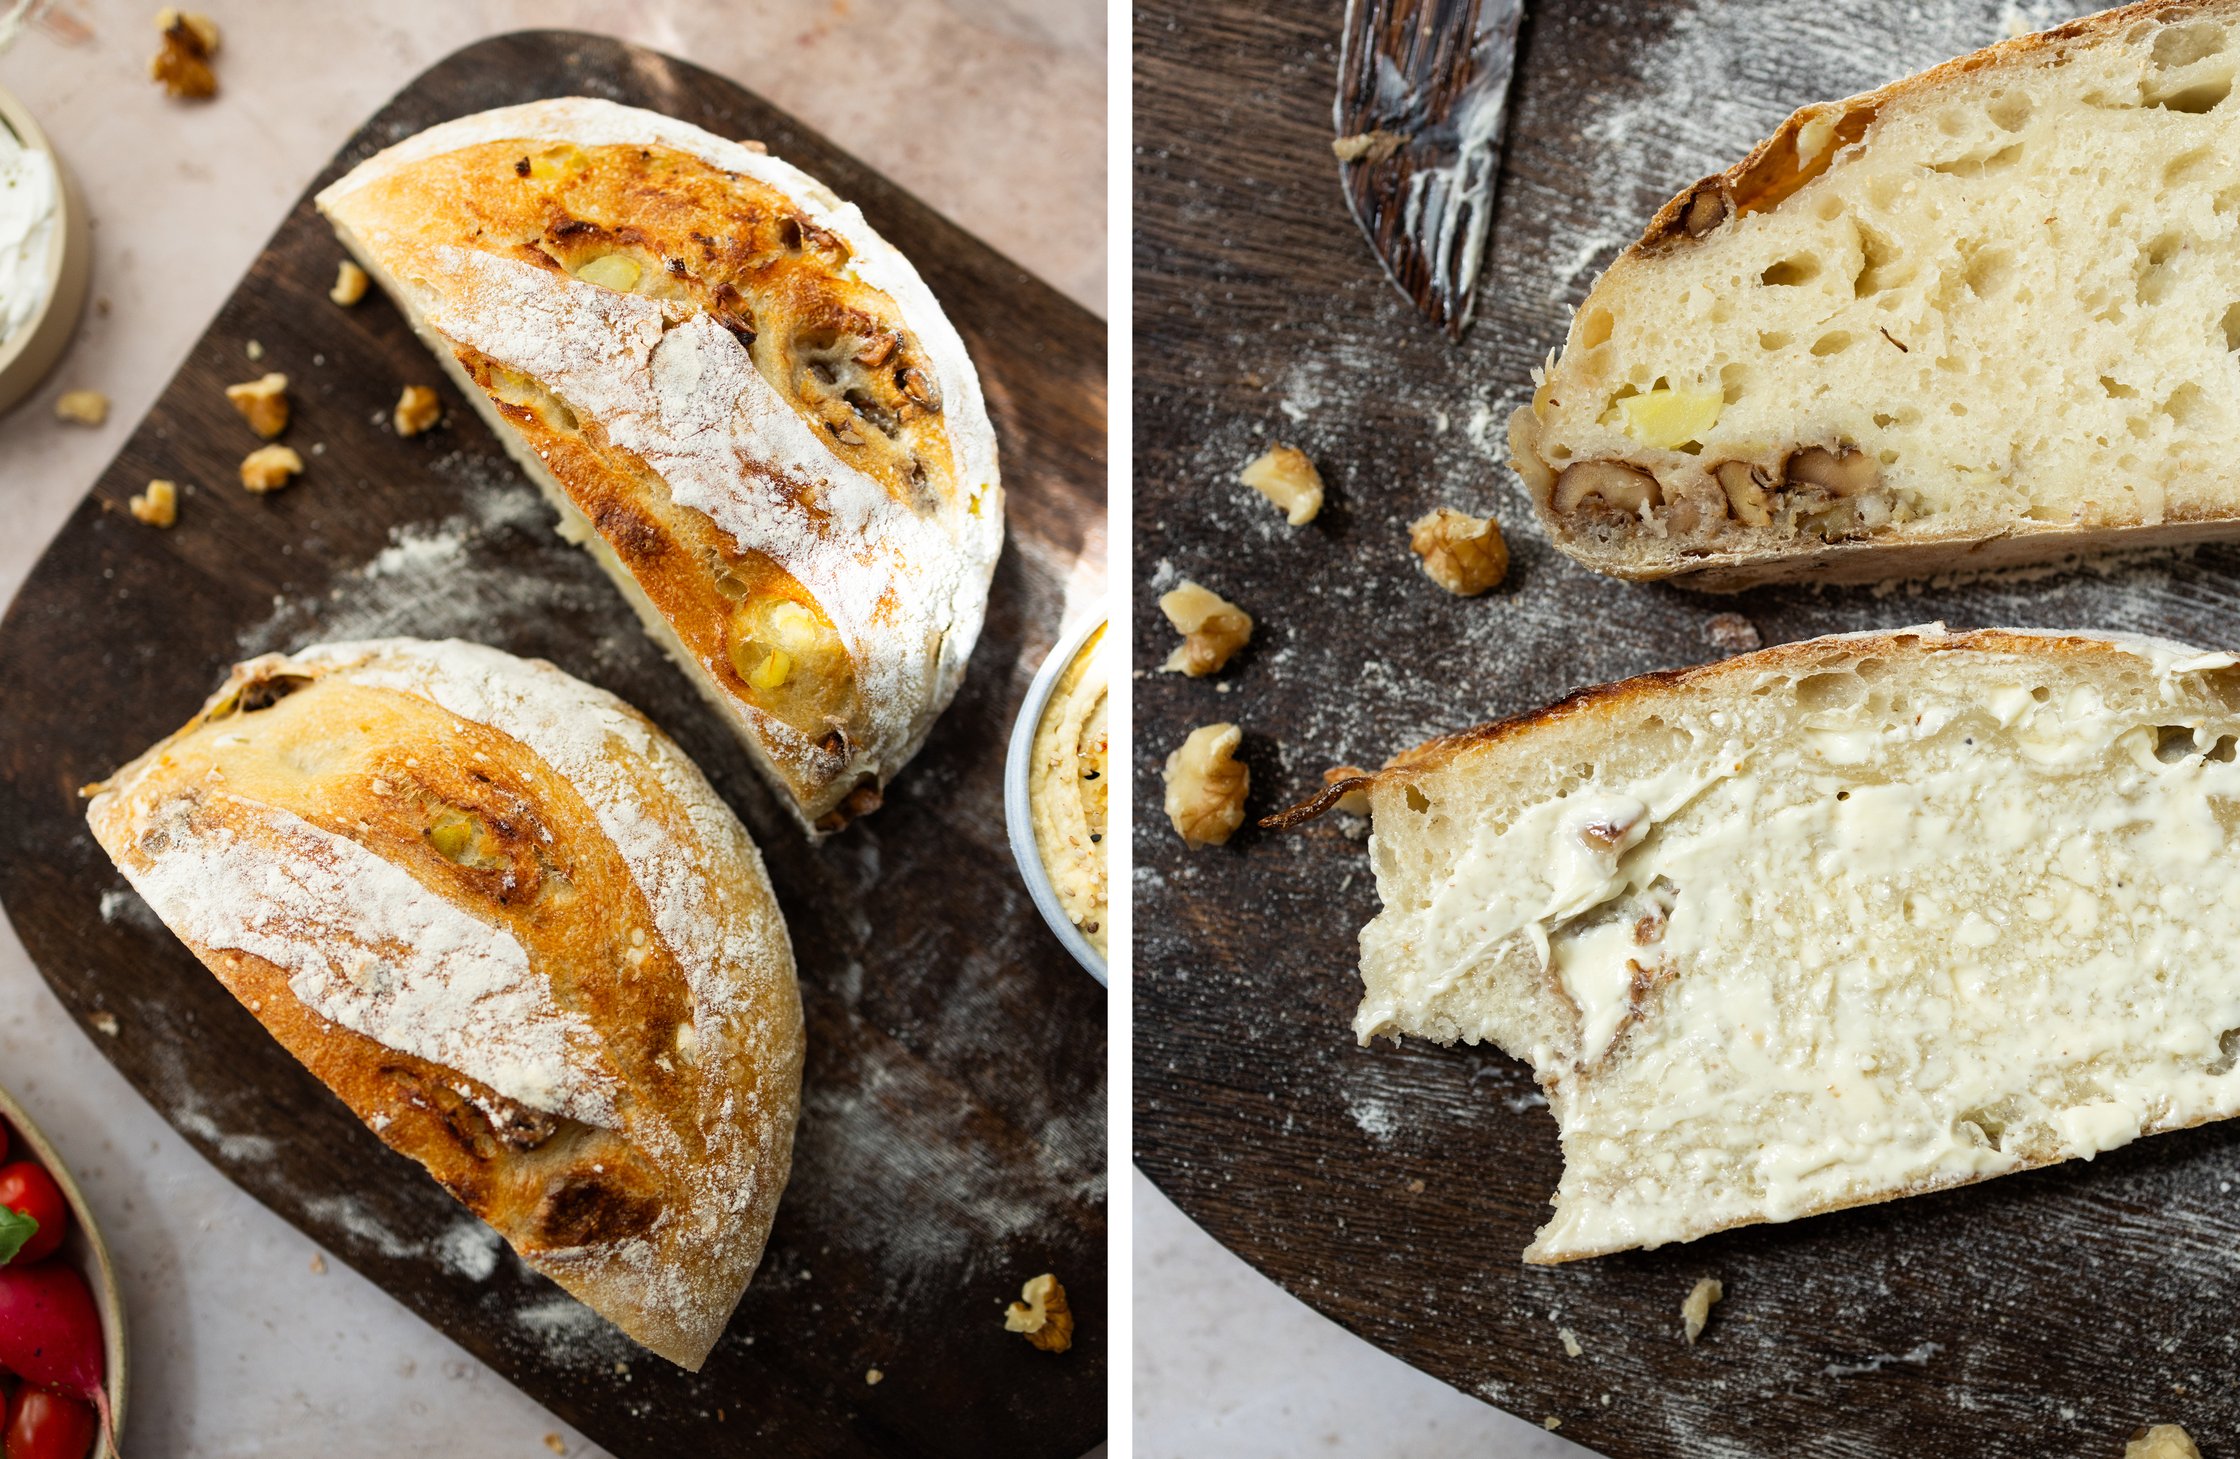
Turn the bread out of the pan onto a rack and leave to cool completely before slicing.

Comments
More Vegan Brunch Recipes

Ad
Vegan Pasta Salad with Mayo Dressing
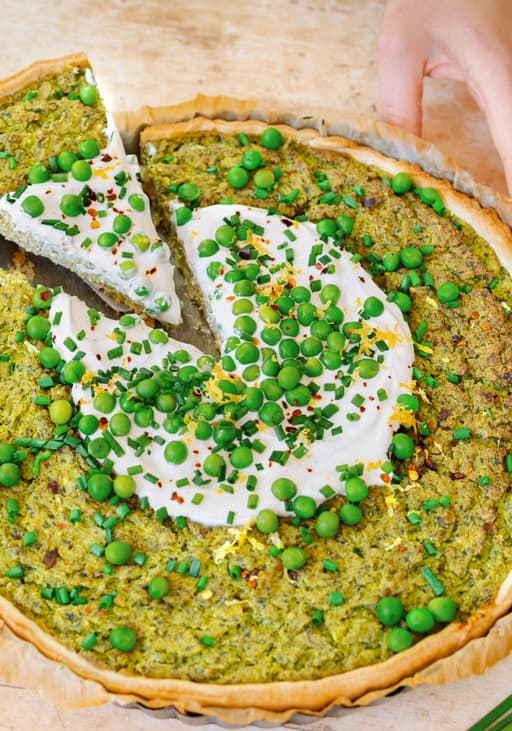
Vegan Quiche with Peas, Spinach, and Herbs
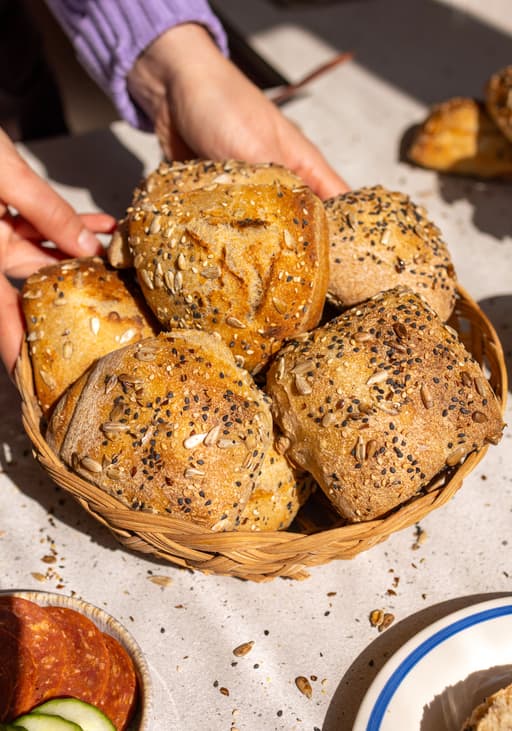
Easy Overnight Sourdough Rolls

Ad
Vegan Puff Pastry Bunnies with Onion Mushroom Filling
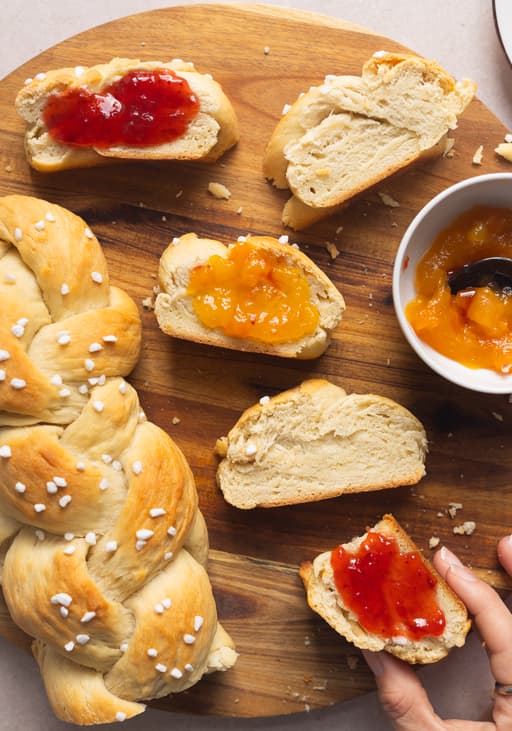
Classic Vegan Braided Sweet Yeast Bread
Ad
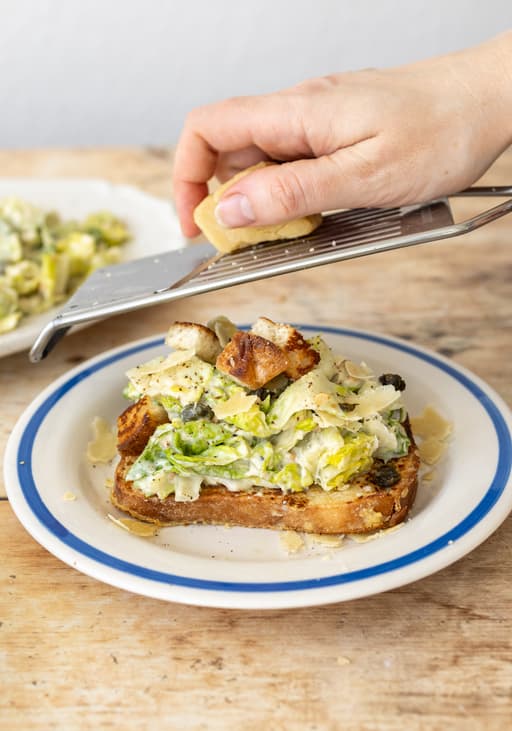
Savory French Toast with Vegan Caesar Salad

Ad
Vegan Scissor Cut Yeast Wreath with Nut Filling

Ad
Stuffed Pretzels with Cabbage, Creamy Herb Dip and Crisp Radish Salad
Ad
Vegan No-Knead Kimchi Focaccia

Vegan Menemen (Turkish Scrambled Eggs with Tomatoes)
Recent Recipes

Ad
Tofu Gyros Pita with Homemade Vegan Tzatziki

Ad
Vegan Mango Curry with Tempeh

Vegane Okroshka (Cold Russian Soup)

Ad
Tofu Steak frites in Pepper Sauce

Tofu Satay Skewers with Rice Noodles and Quick Pickles
Ad
Vegan Pasta Salad with Mayo Dressing
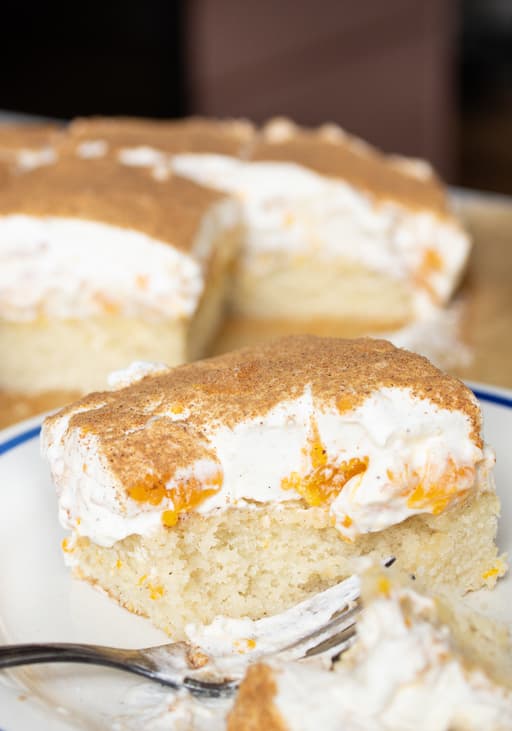
Vegan Fanta Cake with Sour Cream and Mandarin Cream
Ad
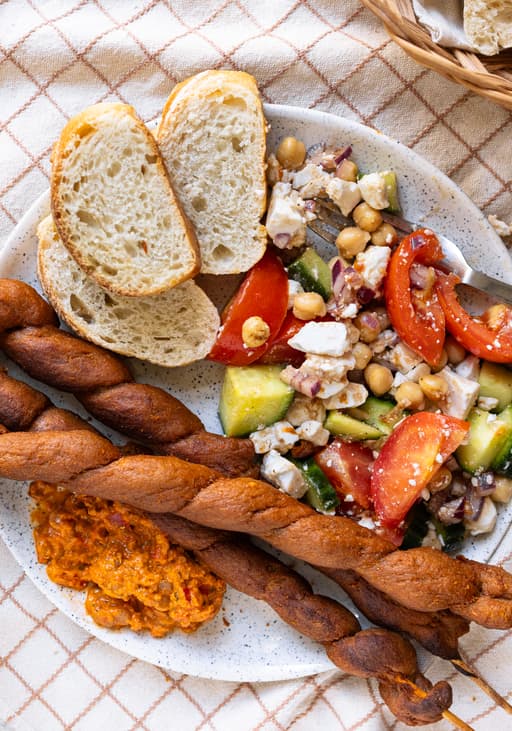
Vegan Grilled Seitan Skewers with Chickpea Salad
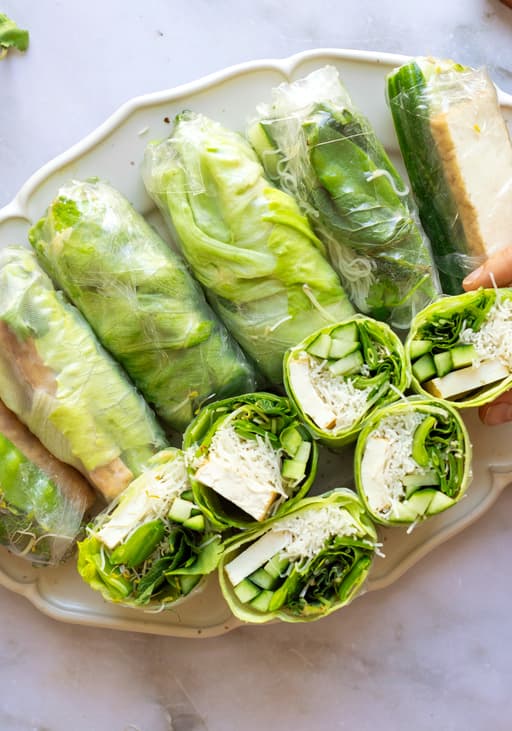
Green Summer Rolls with Sugar Snap Peas and Sesame Dip
Ad
